









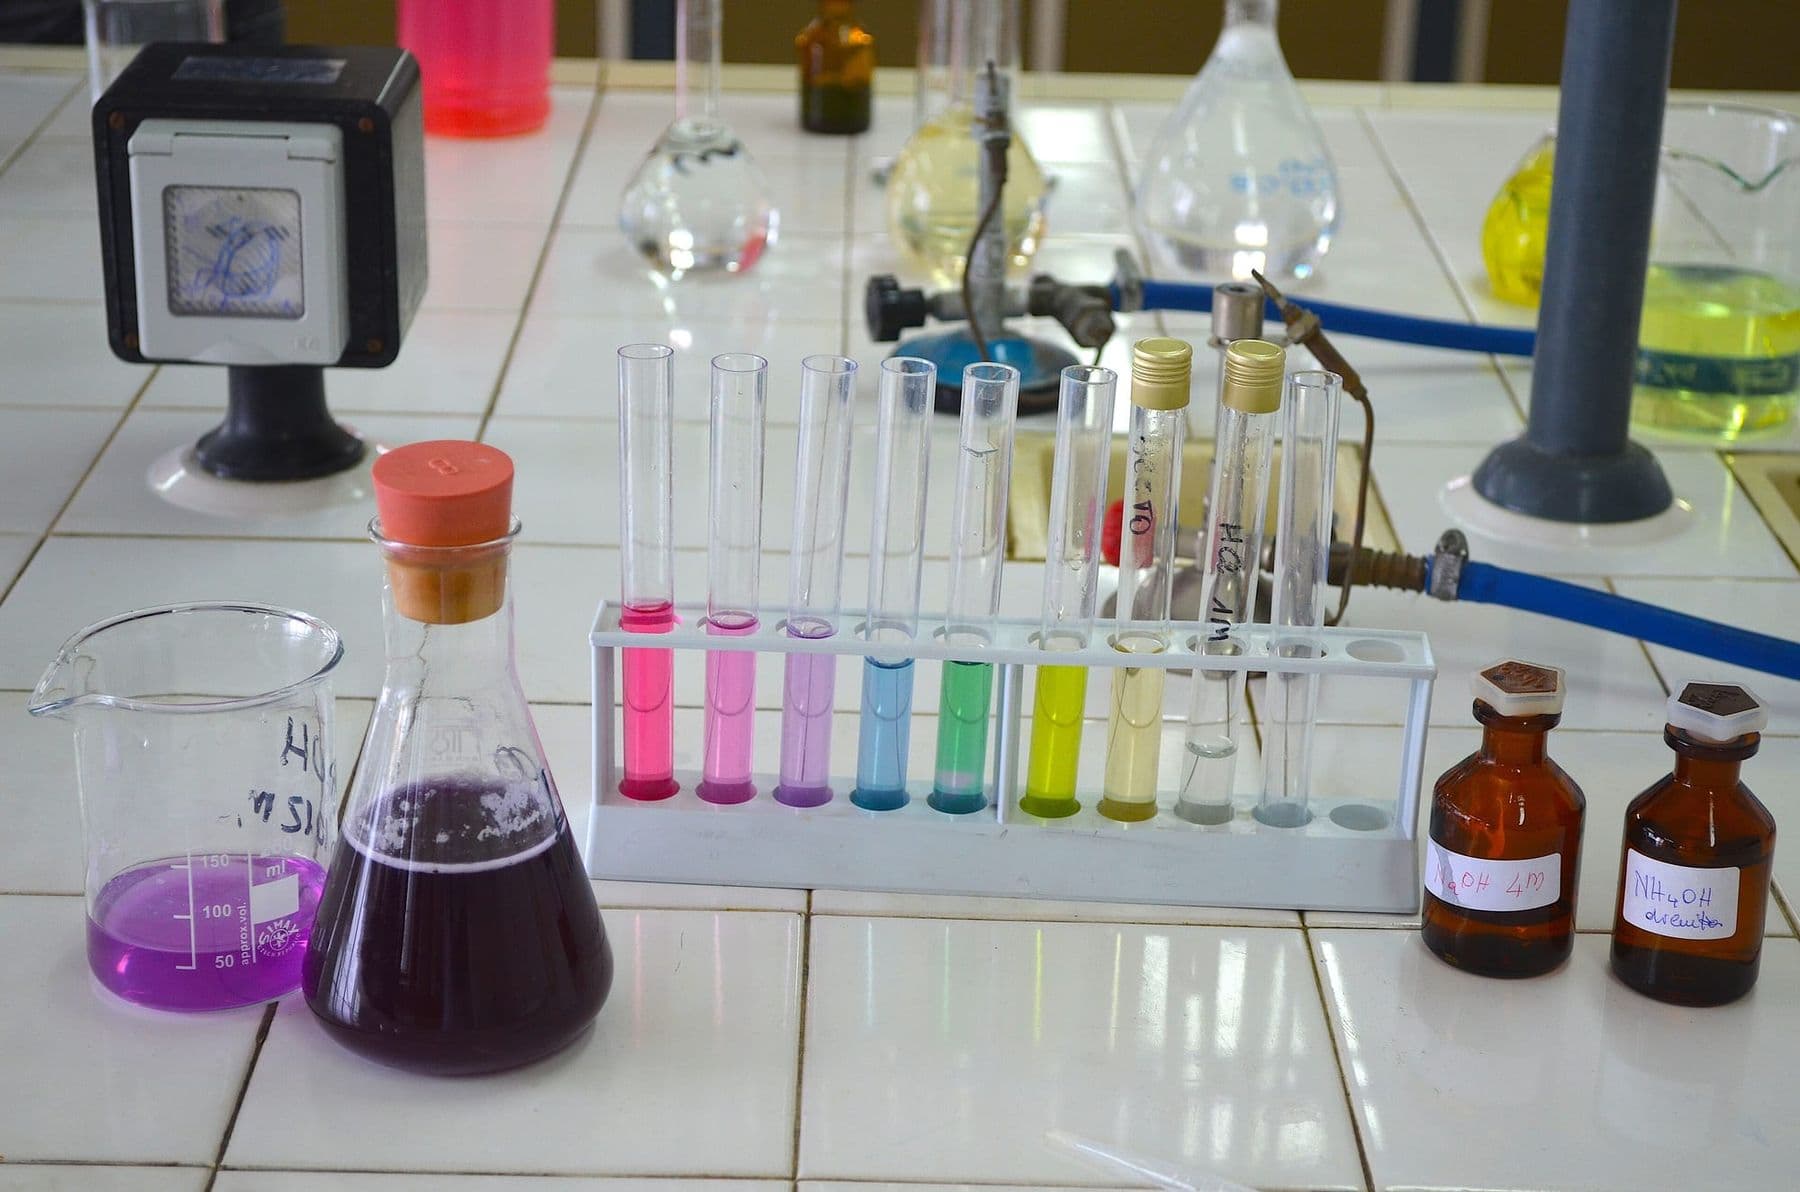
Chemistry experiments at home and in the classroom are safe when you use kitchen materials, wear safety glasses and an adult supervises. Five easy, fun experiments: a red cabbage pH indicator, elephant toothpaste with 3% hydrogen peroxide and yeast, invisible ink, a sugar density rainbow, and a balloon inflated by baking soda and vinegar.
Many children remember chemistry as formulas and tables. In fact it is the most visual science there is: colours change, foam rises, a balloon inflates by itself. One well-run experiment often teaches more than a whole textbook chapter.
Each experiment below has a materials list, steps, an explanation of why it happens, and safety rules. At the end you will find how to turn an experiment into a STEAM project with a sensor and real data.
Which chemistry experiments are safe for kids?
All five use household substances you can buy at a pharmacy or a shop. The table helps you choose by age and time.
| Experiment | Age | Time | What it teaches |
|---|---|---|---|
| Red cabbage indicator | 7+ | 30 min | Acids, bases, pH |
| Elephant toothpaste | 8+ | 15 min | Catalysts, enzymes, gases |
| Invisible ink | 7+ | 20 min | Effects of heat, acids and bases |
| Density rainbow | 9+ | 30 min | Solutions, density |
| Baking soda balloon | 6+ | 10 min | Chemical reactions, carbon dioxide |
Wear safety glasses for every experiment and keep an adult with the child. Taste nothing, even if it is food. Label every cup. Do not mix substances in ways the instructions do not describe. Never use bleach, vinegar essence (70%), oven cleaner or other strong household chemicals. Wash your hands afterwards.
Experiment 1: red cabbage pH indicator
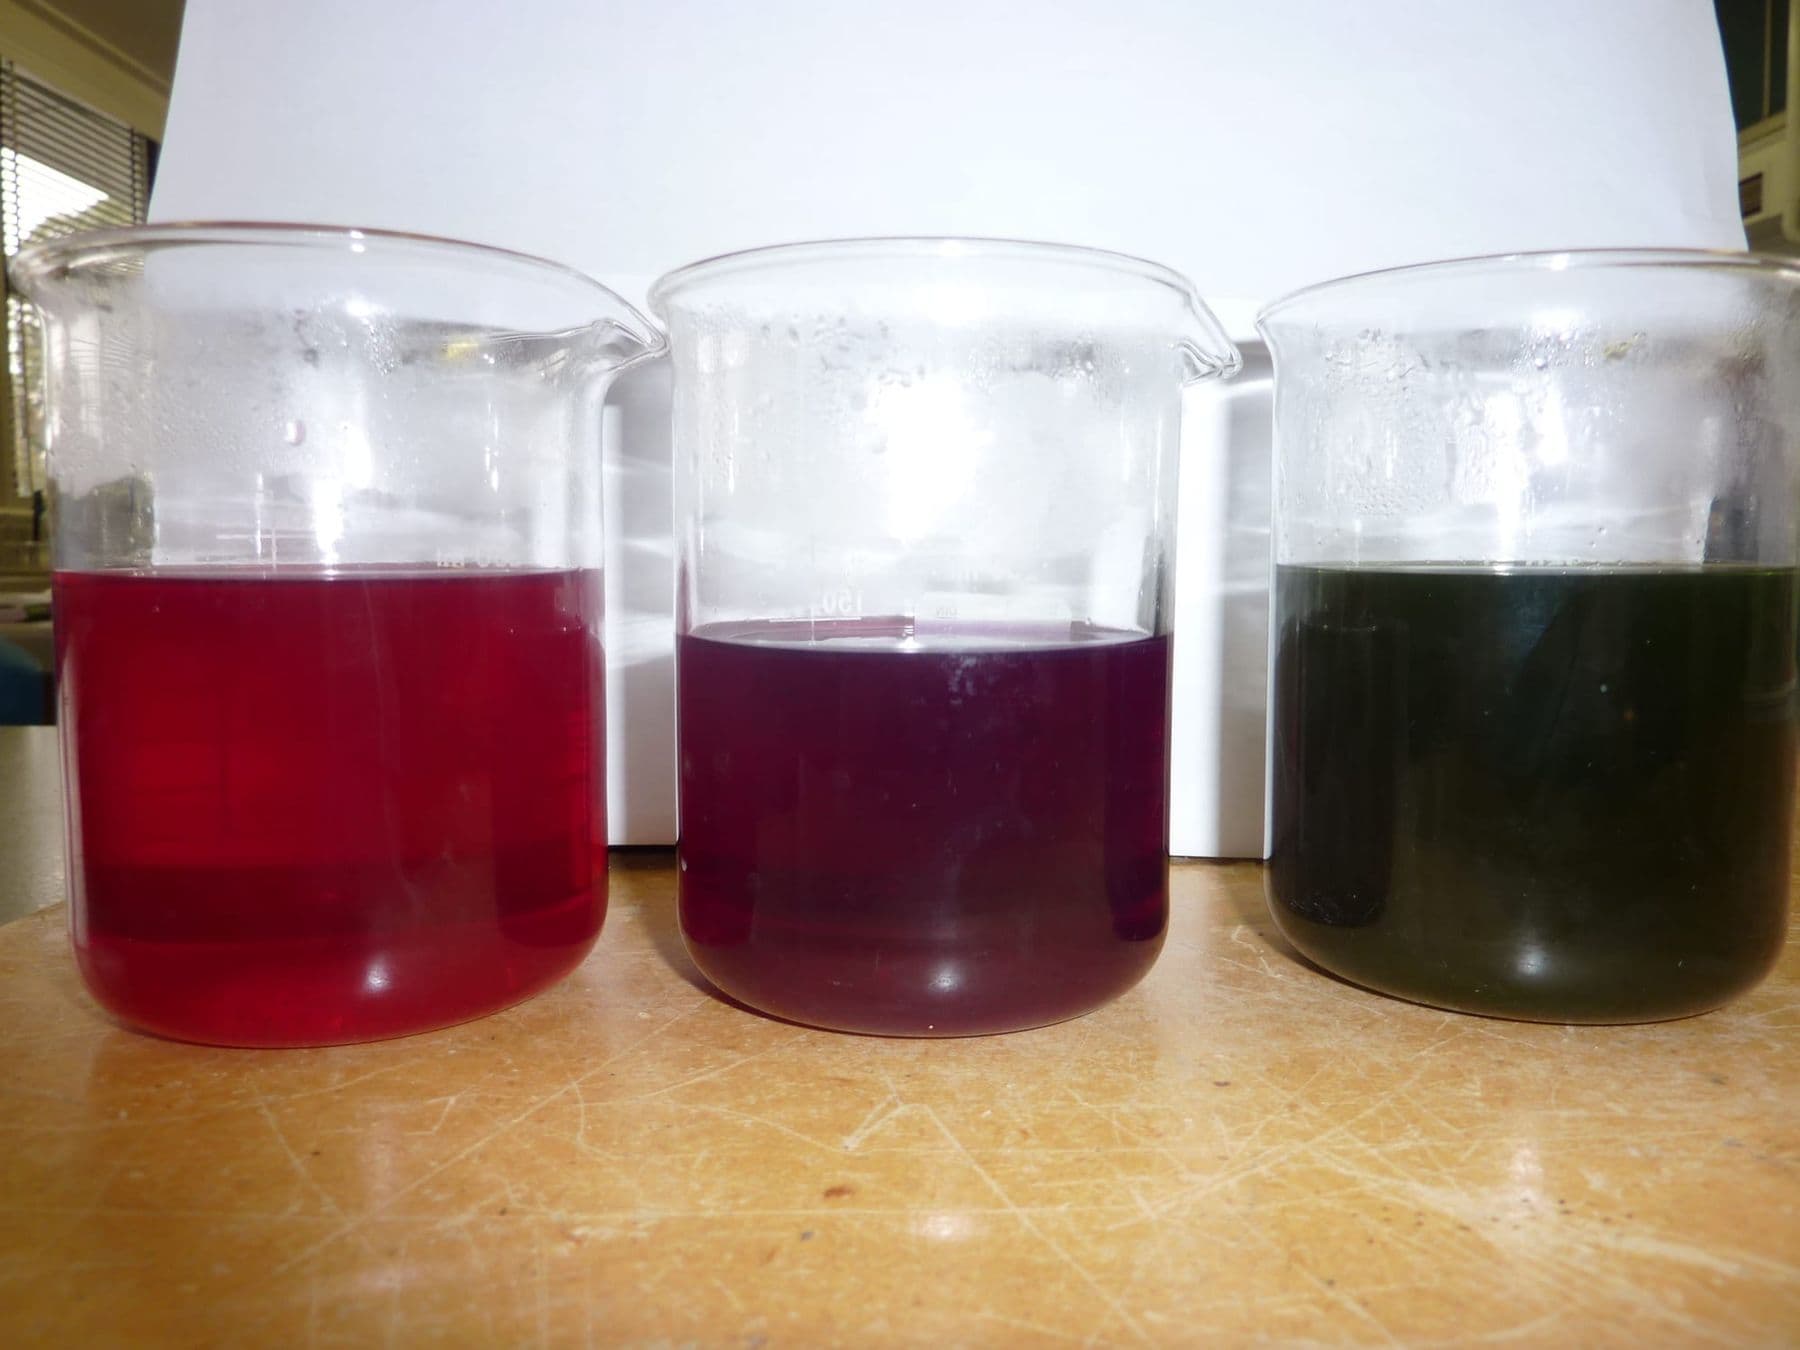
Materials: 3–4 red cabbage leaves, hot water, a sieve, 5–6 clear cups, lemon juice, table vinegar, tap water, baking soda solution, a weak washing powder solution.
Steps:
- An adult chops the cabbage and pours hot water over it to cover the leaves. Leave for 10–15 minutes.
- When it has cooled, strain it through a sieve. The dark purple liquid is your indicator.
- Pour different liquids into the cups and add 2–3 tablespoons of indicator to each.
- Record the colours in a table and line the cups up by colour.
What happens and why: red cabbage contains pigments called anthocyanins that change colour in acidic and alkaline conditions. In acids (lemon, vinegar) the indicator turns red or pink, in neutral water it stays purple, and in alkaline solutions (baking soda, washing powder) it turns blue or green. The child sees the pH scale with their own eyes.
Safety: only an adult handles the hot water and the knife. Do not drink the indicator. Do not test strong bases such as oven or drain cleaner: they damage skin and eyes.
Experiment 2: elephant toothpaste with yeast
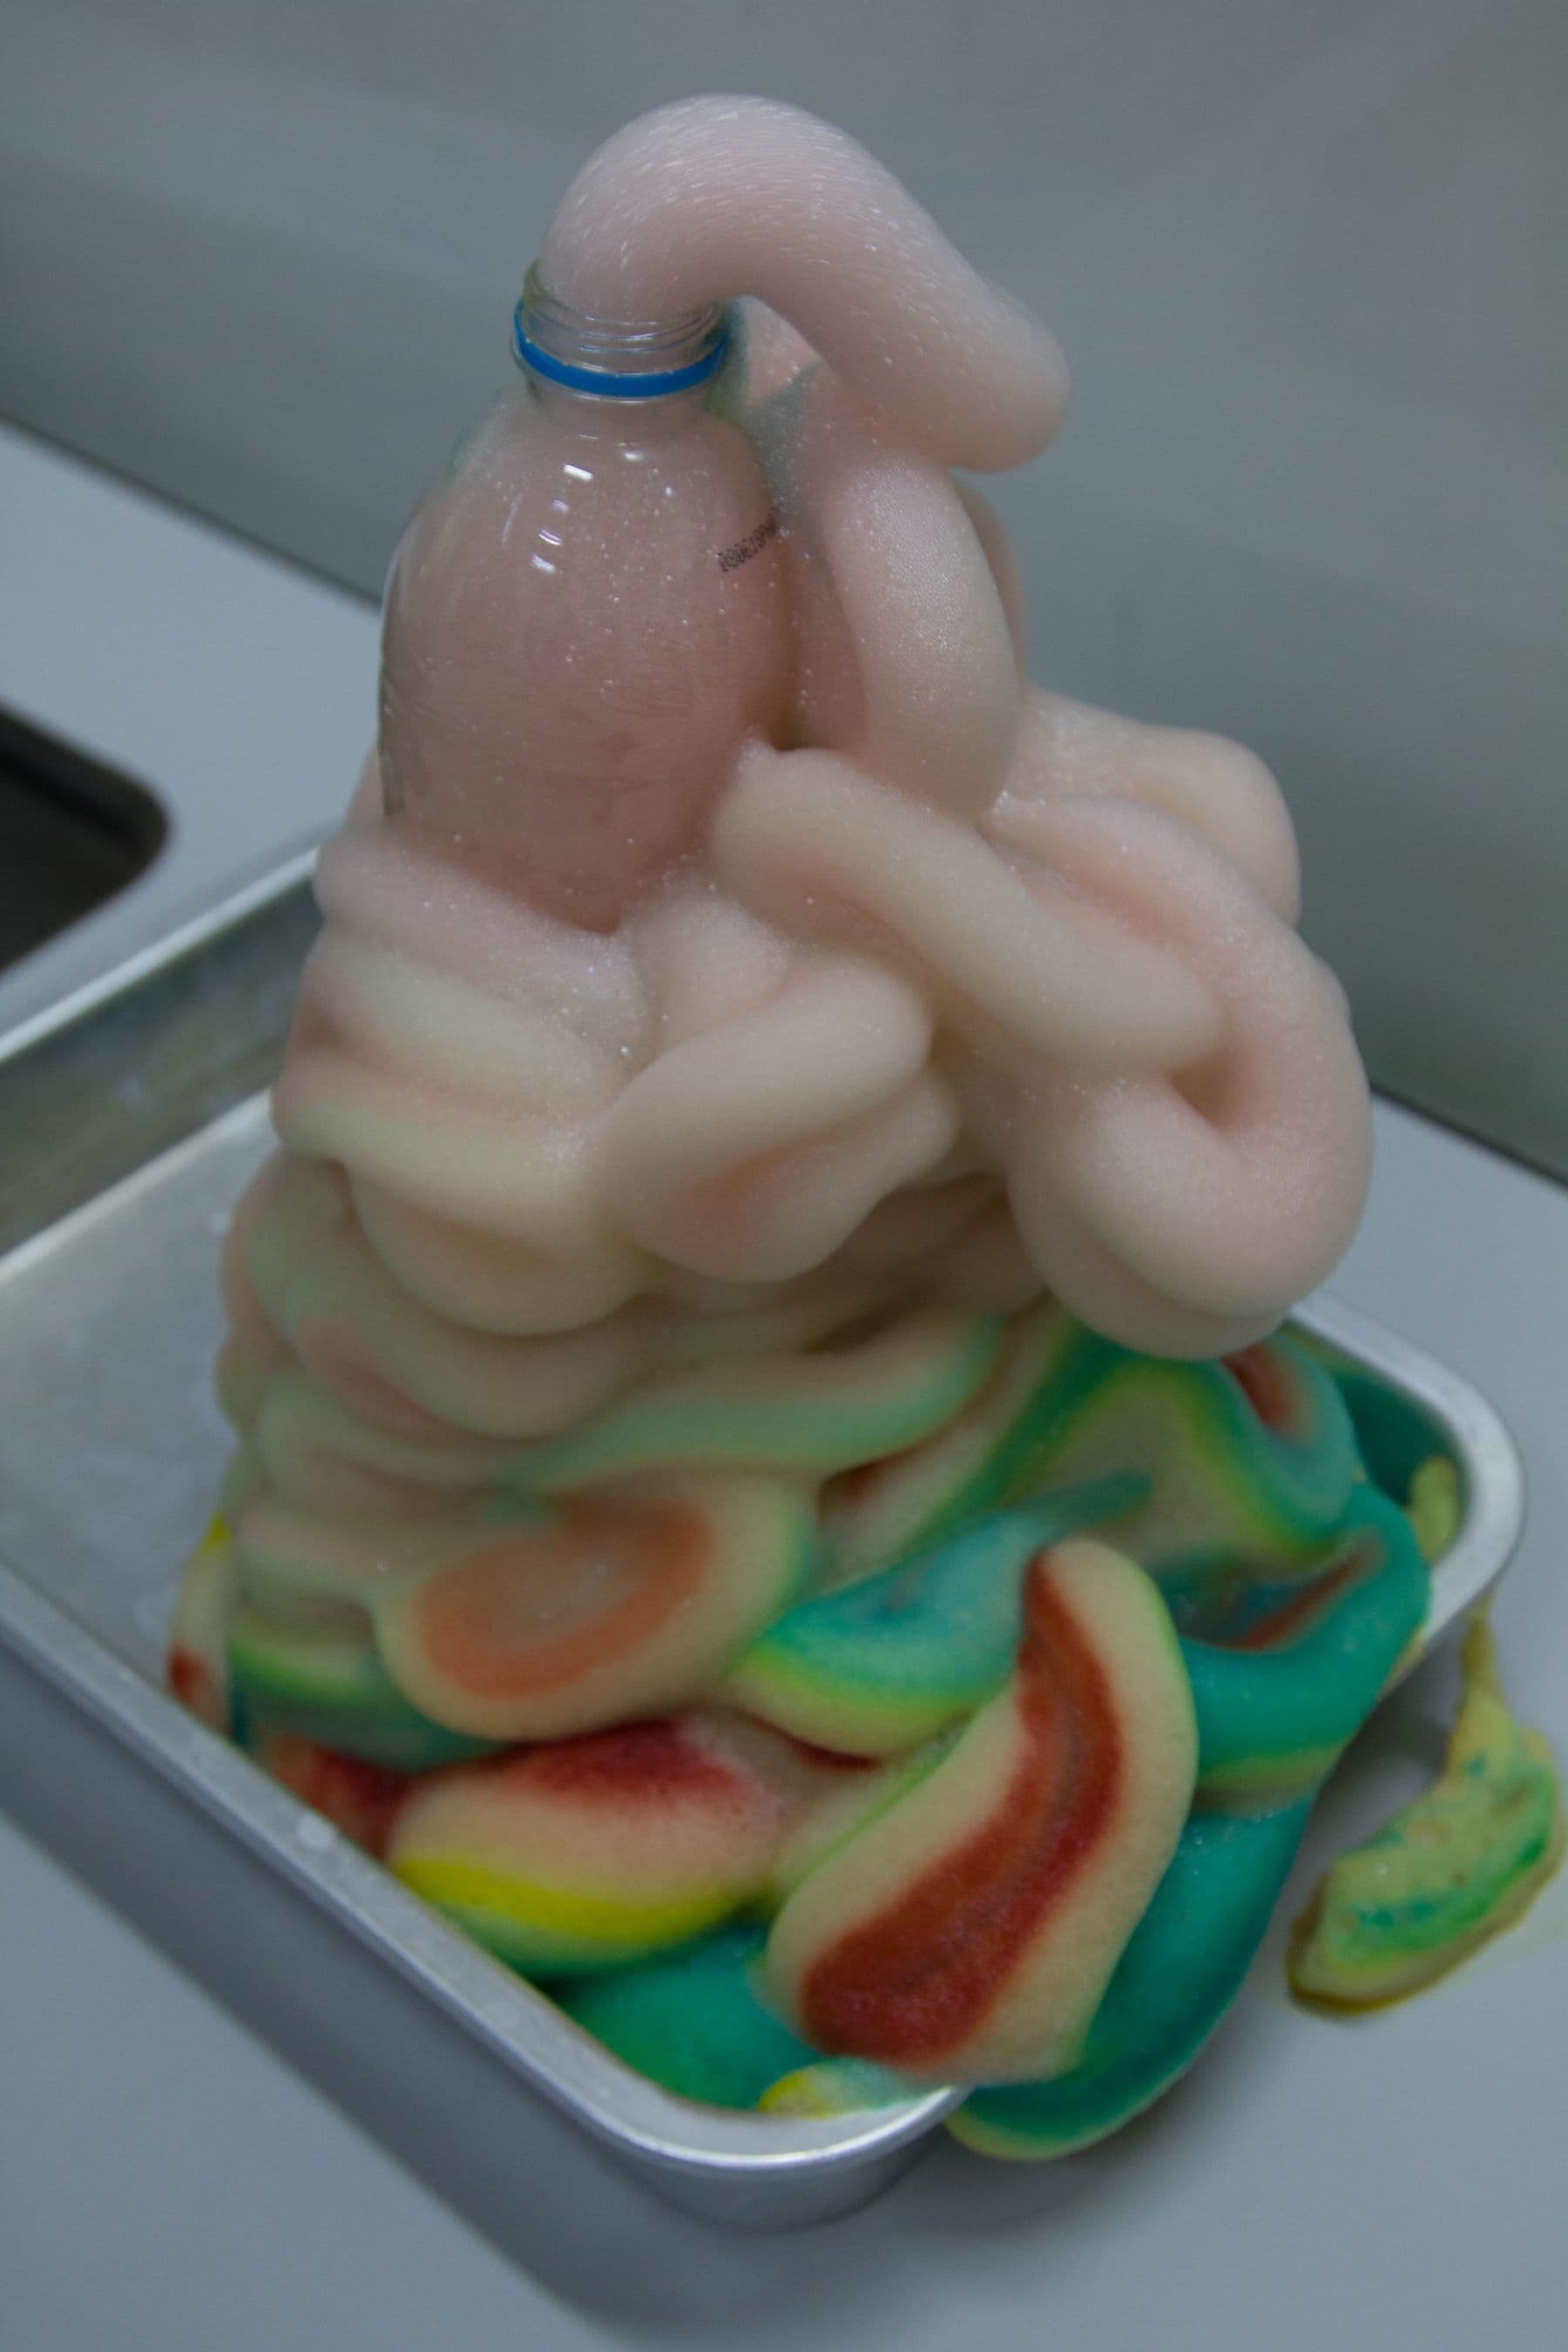
One of the most fun chemistry experiments: thick foam “toothpaste” pours out of a bottle. With children we use only the safe version: 3% pharmacy hydrogen peroxide and yeast. The foam will be smaller than in online videos, but the effect is still clear.
Materials: a 500 ml plastic bottle, a deep tray, a funnel, half a cup (about 120 ml) of 3% hydrogen peroxide, washing-up liquid, food colouring, 1 tablespoon of dry yeast, 3 tablespoons of warm water, safety glasses.
Steps:
- Stand the bottle on the tray and pour in the peroxide through the funnel.
- Add a teaspoon of washing-up liquid and a few drops of colouring; swirl gently.
- In a separate cup, stir the yeast into the warm water for 30 seconds.
- Pour the yeast mixture into the bottle through the funnel and step back.
What happens and why: hydrogen peroxide slowly breaks down into water and oxygen on its own (2H₂O₂ → 2H₂O + O₂). Yeast contains the enzyme catalase, a catalyst: it speeds the reaction up enormously without being used up. The oxygen gets trapped in soap bubbles and the foam rises out of the bottle. The reaction is exothermic (it releases heat), so the foam and bottle get slightly warm; touch the bottle and feel it.
Safety: glasses are a must, as peroxide irritates eyes. Use only 3% peroxide with children. The 6% solution sold in beauty supply shops makes a bigger foam but needs gloves, glasses and an adult-only demonstration. High-concentration lab peroxide does not belong at home or in a school class. Store peroxide in its original container, out of children’s reach. The foam rinses away with water, but keep it off faces.
Experiment 3: invisible ink
Materials: lemon juice, baking soda, water, cotton buds, white paper, a hair dryer, the cabbage indicator from experiment 1.
Steps:
- Dip a cotton bud in lemon juice and write a secret word on paper. Do the same on a second sheet with baking soda solution (1 teaspoon of soda in half a cup of water).
- Let the sheets dry completely: the writing almost disappears.
- Heat the lemon sheet with a hair dryer on hot (it takes a few minutes), or an adult can iron it with the steam off: the letters appear in brown.
- Brush the cabbage indicator over the soda sheet: the letters appear blue-green.
What happens and why: organic substances in lemon juice (citric acid, ascorbic acid, sugars) break down and darken with heat at a lower temperature than the paper itself, so the writing shows up first. Scientists do not fully agree on the exact mechanism (oxidation or acid-accelerated breakdown), but the result is the same: brown letters. In the soda version, baking soda solution is mildly alkaline, so the indicator changes colour wherever the soda is, the same chemistry as in experiment 1.
Safety: never heat paper near an open flame or a hot bulb. If you use an iron, only an adult handles it.
Experiment 4: a sugar density rainbow
Materials: 4 cups, warm water, sugar, 4 food colourings, a tall narrow clear glass, a tablespoon or a needle-free syringe.
Steps:
- Pour 60 ml of warm water into each of the four cups.
- Add sugar: 1 tablespoon to the first, 2 to the second, 3 to the third, 4 to the fourth. Stir until dissolved.
- Colour each one differently.
- Pour the sweetest solution into the tall glass first, then the others in order of decreasing sugar, very slowly over the back of a spoon or with a syringe against the glass wall.
What happens and why: the more sugar dissolved, the more mass in the same volume, so the solution is denser. The densest stays at the bottom and the least dense floats on top. Over a few hours the layers slowly mix: that is diffusion, caused by the random movement of molecules.
Safety: the safest experiment here. Use warm water, not boiling.
Experiment 5: a balloon that inflates itself
Materials: a 500 ml bottle, a balloon, a funnel, 2 teaspoons of baking soda, about 100 ml of table vinegar (6–9%, never vinegar essence).
Steps:
- Pour the vinegar into the bottle.
- Use the funnel to put the baking soda into the balloon.
- Stretch the balloon’s neck over the bottle so the soda stays in the balloon.
- Lift the balloon: the soda drops into the vinegar and the balloon inflates.
What happens and why: baking soda (sodium hydrogencarbonate) reacts with acetic acid to form new substances: sodium acetate, water and carbon dioxide (NaHCO₃ + CH₃COOH → CH₃COONa + H₂O + CO₂). A gas takes up far more volume than the same amount of liquid or solid, so it inflates the balloon. It is an irreversible change: you cannot get the soda and vinegar back.
Safety: wear glasses, as the balloon can pop off and spray vinegar. Some people are allergic to latex, so ask first.
How to turn an experiment into a STEAM project
An experiment is fun, but it becomes a project when students measure, compare and draw conclusions. A few ideas:
- Balloon and maths: vary the soda (1, 2, 3, 4 teaspoons), measure the balloon’s circumference with string and draw a graph.
- Elephant toothpaste and temperature: with an Arduino and a waterproof temperature sensor (DS18B20), record how the foam warms up over 2 minutes.
- Indicator and colour sensor: measure each cup with an RGB colour sensor and build your own “pH meter”.
- Art: paint with the indicator and different solutions so the colours change through chemistry.
For sensor basics, see Arduino for beginners. Similar biology experiments, from DNA extraction to photosynthesis, are in 5 fun biology experiments, and electricity and magnetism in 5 simple physics experiments. For maths activities with 3D printing and Scratch, see fun maths: 5 STEAM activities.
Before starting, ask the child to write down what they expect: what colour lemon juice will turn, how big the balloon will get. Afterwards compare the prediction with the result. This small step turns fun into the scientific method.
Frequently asked questions
What are the easiest chemistry experiments to do at home?
The baking soda balloon and the red cabbage indicator: the materials are in every kitchen and they take 10–30 minutes. Both are safe if the child wears glasses and an adult is nearby.
What strength of hydrogen peroxide should I use for elephant toothpaste?
With children, only 3% pharmacy hydrogen peroxide, with yeast. The foam is smaller than in online videos, but the experiment is safe. Higher concentrations are for adult demonstrations only, with gloves and glasses.
Why does red cabbage juice change colour?
Cabbage contains pigments called anthocyanins whose molecules change in acidic and alkaline conditions and absorb light differently. So it is red in acid, purple when neutral, and blue or green in a base.
At what age can kids do chemistry experiments?
Simple experiments like the balloon and the indicator work from 6–7 with full adult supervision. From about 9–10, children can follow the steps on their own, measure and record results.
How do I dispose of the leftovers?
All leftovers from these experiments (indicator, foam, sugar solution, vinegar) can go down the sink with plenty of water. Cabbage and paper go in the normal bin. Wash the containers well afterwards.
Your next step
If, after the experiments, your child wants to measure things with sensors and build their own devices, that is a natural next step: in the Electronics and Smart Devices course in Tbilisi, students aged 10–13 learn Arduino, sensors and coding. If you are a teacher planning to bring experiments into the school programme, see STEAM education in schools.
Sources
- Red cabbage rainbows, Royal Society of Chemistry
- Irreversible changes and the ‘freaky hand’, Royal Society of Chemistry
- Dissolving, density and ‘heavy’ sugar, Royal Society of Chemistry
- Elephant Toothpaste, National Geographic Kids
- Safety and School Science Instruction, NSTA
- Can lemon juice and hot breath reveal invisible ink?, Royal Society of Chemistry