







You can do robotics at home without an expensive kit. With 5–7 year-olds, start with projects that need no electronics: a "human robot" game, a cardboard hand and a hydraulic arm made from syringes. From 7–9 add small motors and batteries (a bristlebot, an art robot), and from about 10, Arduino. Below are 10 projects with a summary table, steps and safety rules.
The point of these projects is not a perfect robot. What matters is that your child works out why the robot isn't moving, changes something and tries again. That loop (idea, build, test, improve) is the heart of engineering, and it works just as well on a kitchen table.
Robotics at home: 10 projects in one table
| Project | Age | Time | Difficulty | Main materials |
|---|---|---|---|---|
| 1. The "human robot" | 5+ | 20 min | ★ | paper, pencil |
| 2. Cardboard robotic hand | 6+ | 1 h | ★ | cardboard, straws, string |
| 3. Hydraulic arm | 8+ | 2–3 h | ★★ | identical syringes, tubing, cardboard |
| 4. Bristlebot | 7+ | 30 min | ★ | toothbrush head, vibration motor, coin cell |
| 5. Art robot | 7+ | 1 h | ★★ | cup, motor, AA battery, markers |
| 6. Propeller car | 8+ | 2 h | ★★ | motor, switch, cardboard, bottle caps |
| 7. Virtual robot in Tinkercad | 9+ | 1 h | ★★ | computer, internet |
| 8. mBot race track | 7+ | 1 h | ★★ | mBot, black electrical tape |
| 9. Waving robot with Arduino | 10+ | 2–3 h | ★★★ | Arduino, servo, distance sensor |
| 10. Obstacle-avoiding car | 11+ | 1–2 weekends | ★★★ | Arduino, chassis, motors, driver |
Ages are a guide, not a rule: a parent working alongside makes any project accessible to a child a year or two younger.
Robots with no electronics (ages 5–8)
1. The "human robot". The simplest STEM activity there is, and it teaches the essence of programming. A parent plays the robot and follows only exact commands: "one step forward", "turn right", "pick up the cup". The child writes a "program" of arrows on paper to get the robot to the table. When the "robot" walks into a wall, your child has found and fixed their first bug.
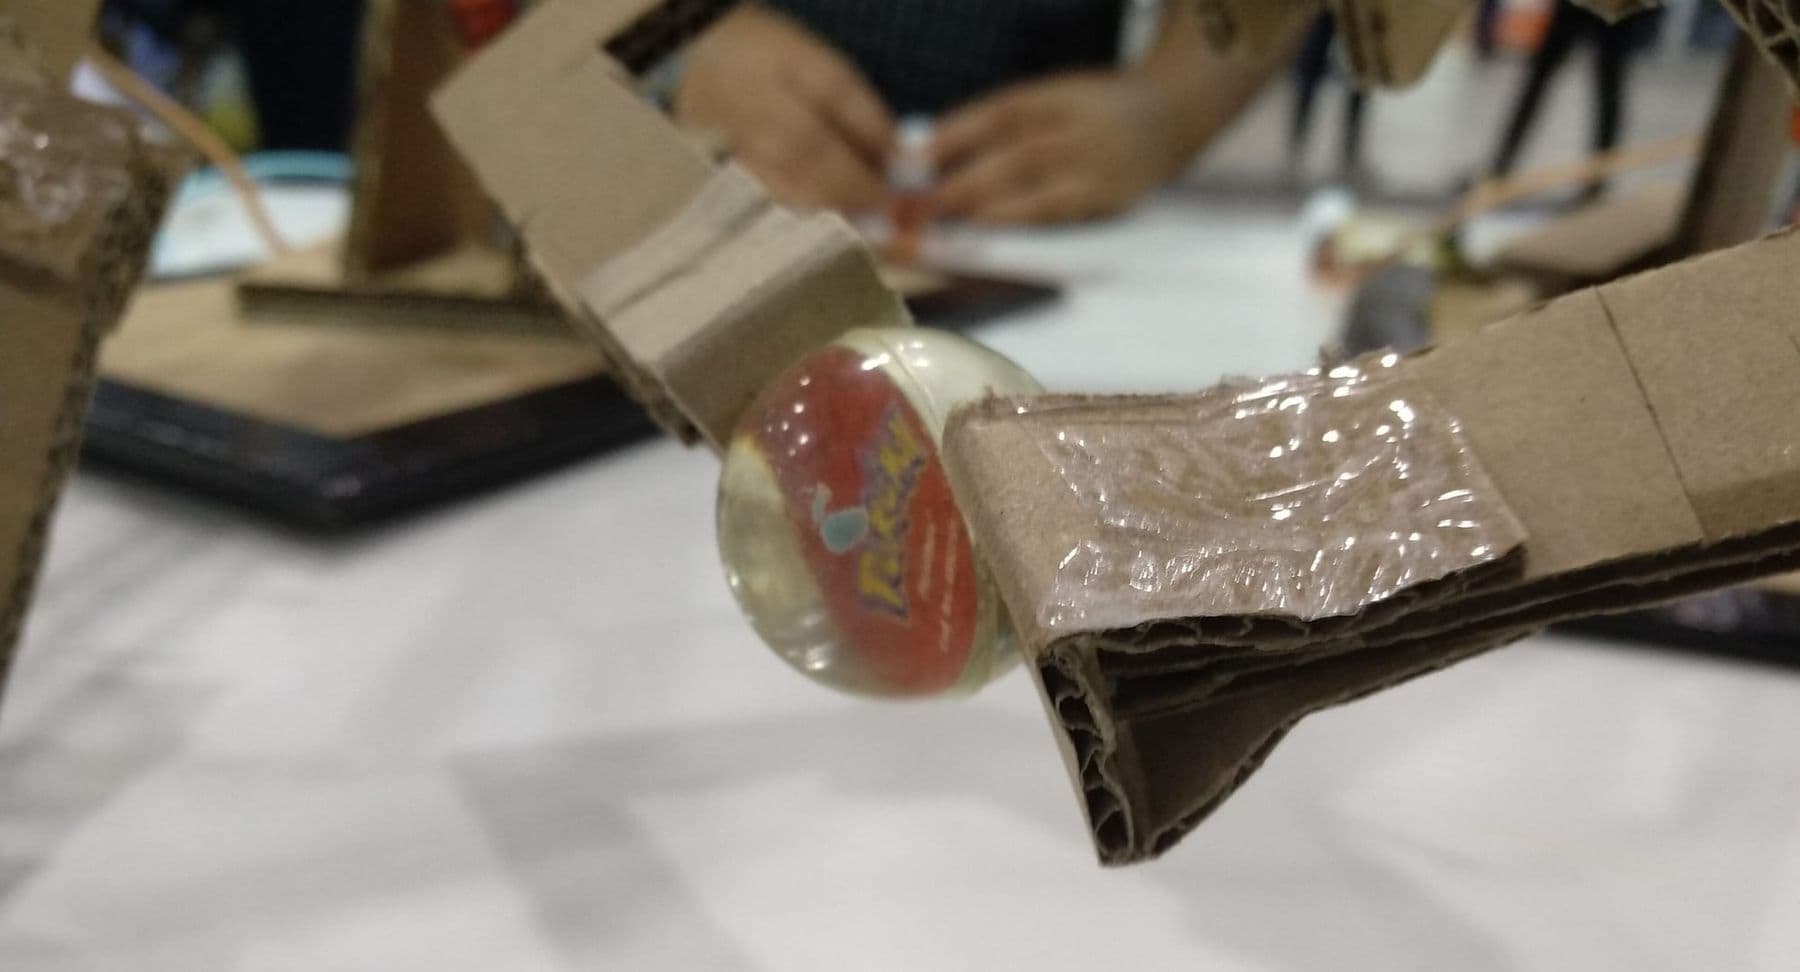
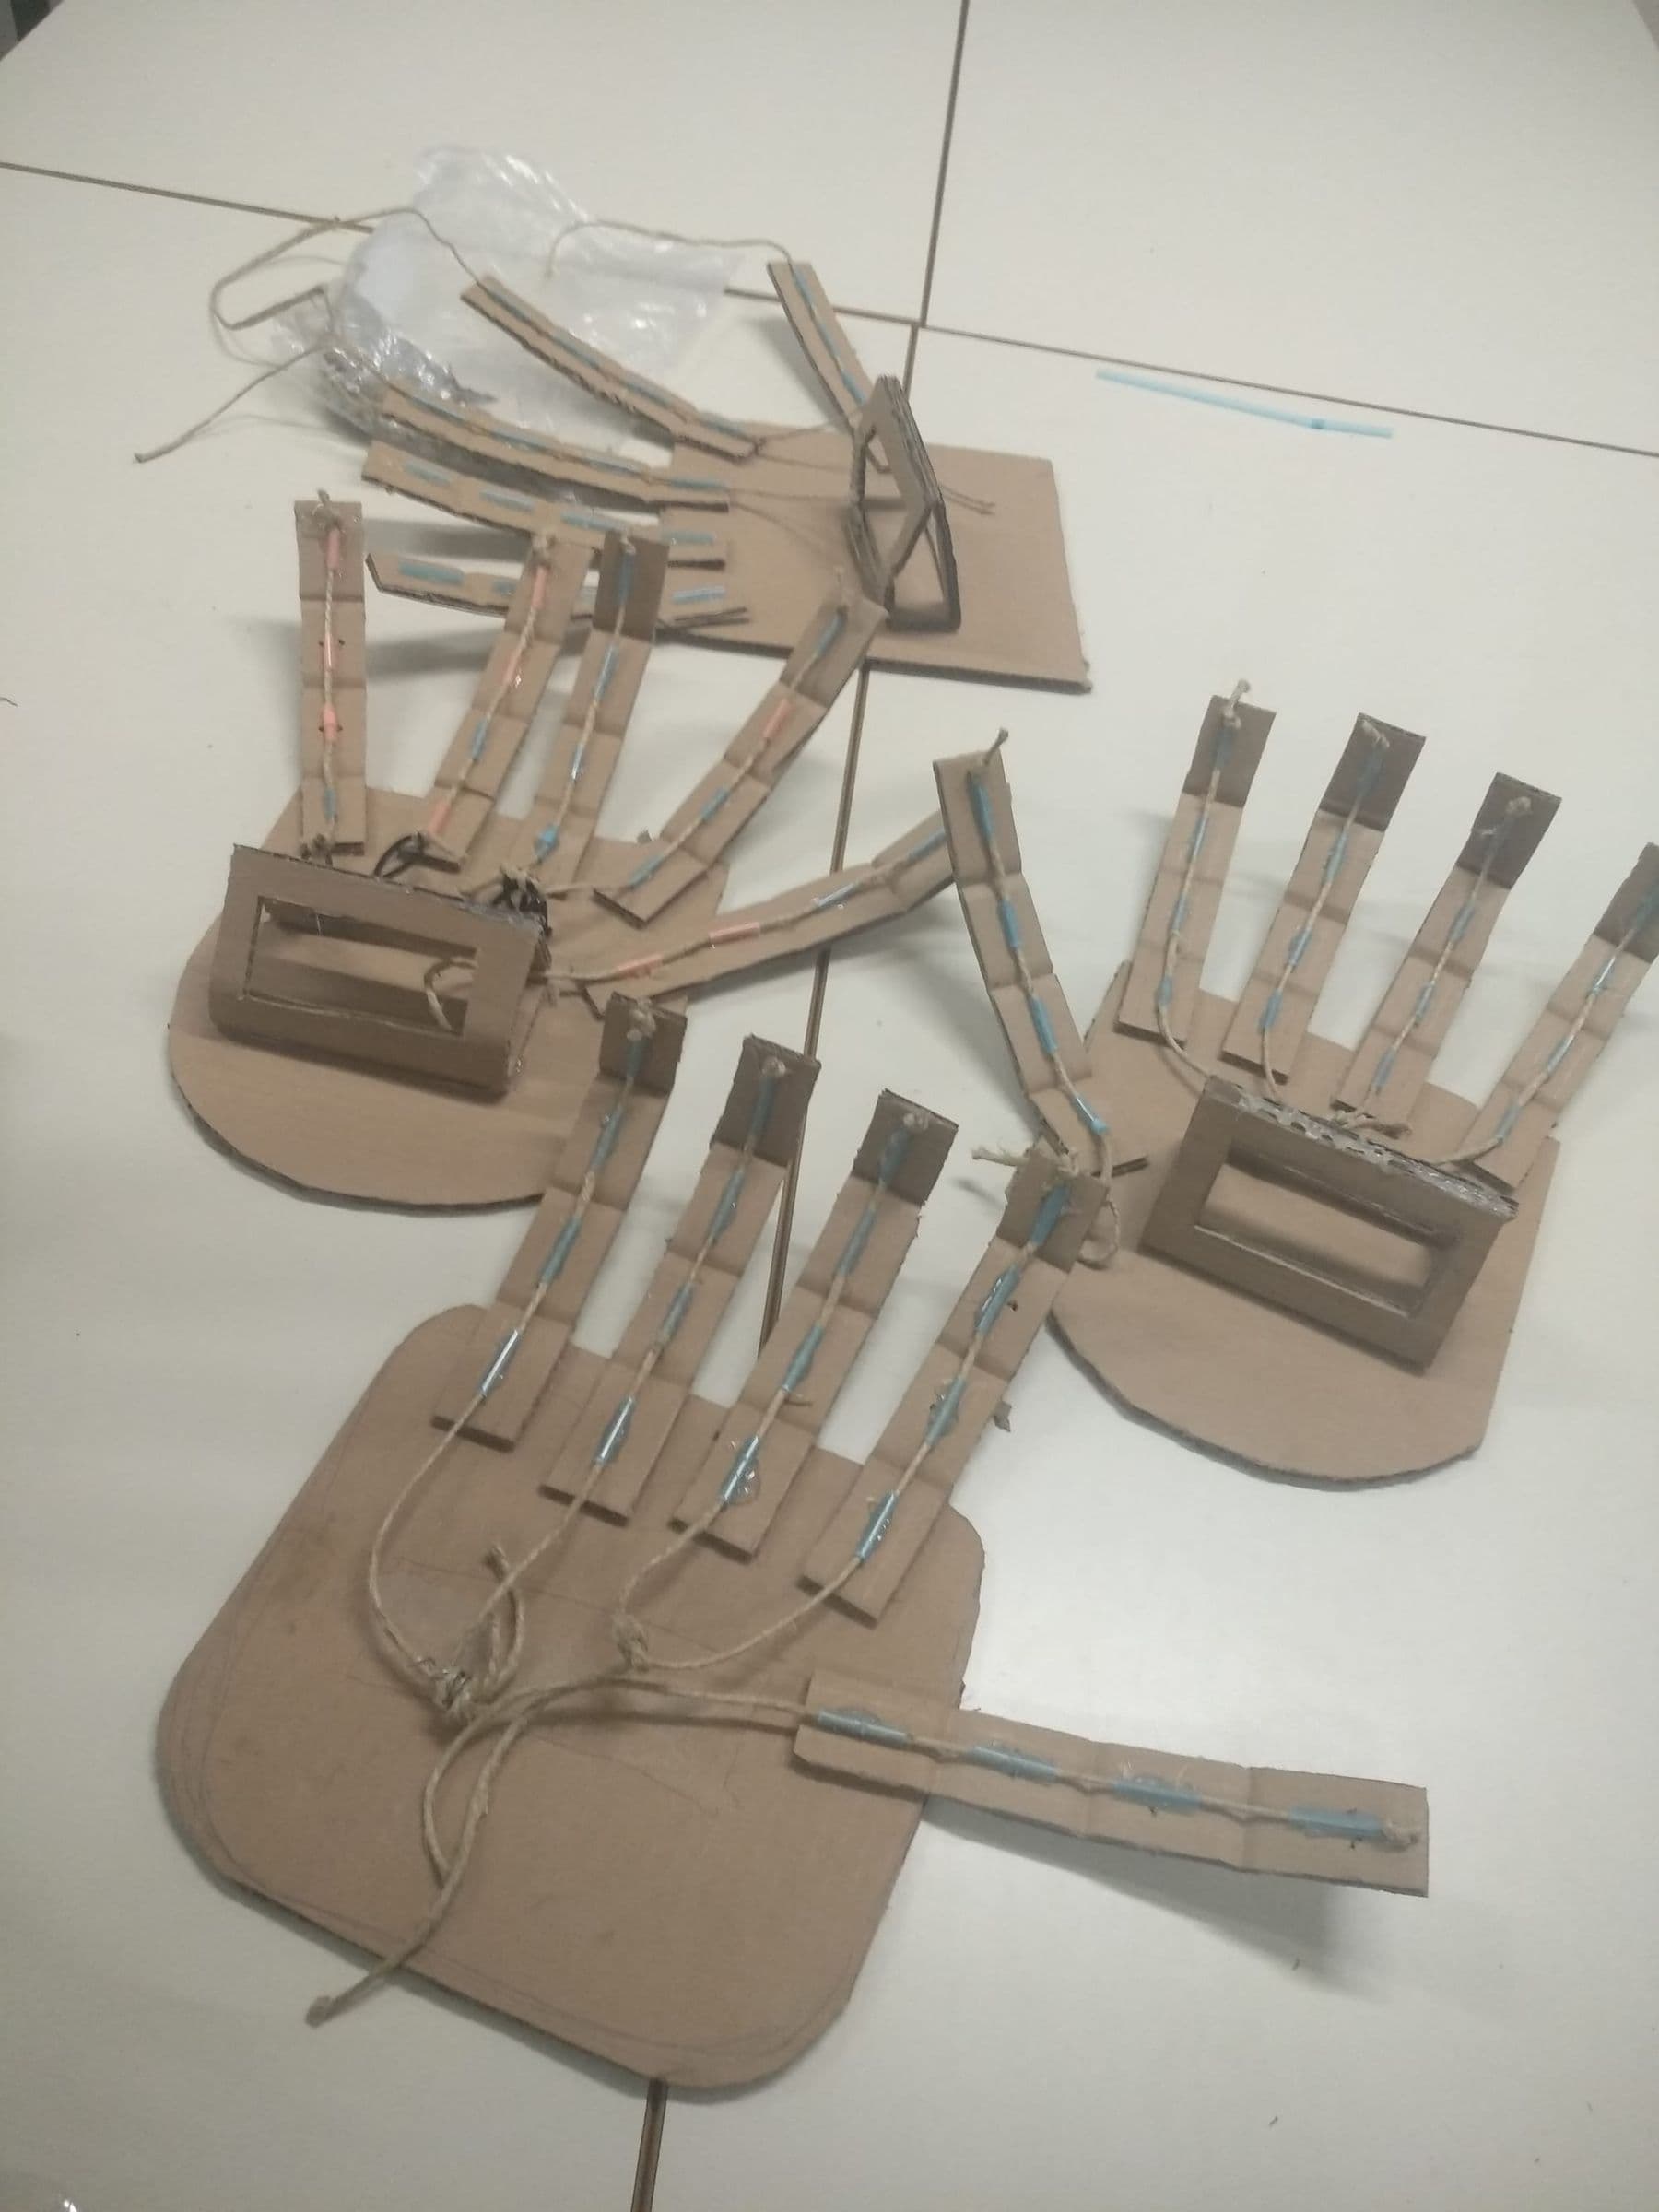
2. Cardboard robotic hand. Trace your child's hand on cardboard and cut it out. Fold the fingers at the joints, glue 2–3 short pieces of drinking straw onto each finger, and thread a string through them. Pull the string and the finger curls, exactly the way tendons work in our hands. Upgrade: tie all five strings to one "bracelet" and make a fist.
3. Hydraulic arm with syringes. The most impressive no-electronics project. Connect two identical syringes with plastic tubing and fill the system with coloured water. Push one plunger and the other one moves. Build an arm with joints from cardboard or wooden sticks, and give each joint its own pair of syringes: one rotates, one lifts, one closes the gripper.
Steps for a first, single joint:
- Cut a base and two long strips (the "upper arm" and "forearm") from cardboard and make the joint with a wooden skewer.
- Fix the barrel of one syringe to the base with tape or a clamp, and the end of its plunger to the arm.
- Fill the second syringe with water, push the tubing onto its tip and slowly push the water into the first syringe, with no bubbles.
- Push the "control" syringe: the arm should rise. Pull it: the arm should lower.
- Once one joint works, repeat for rotation and for the gripper.
Tips to make it work: use syringes of the same size, make sure the tubing fits the tips snugly, and leave no air bubbles. Air compresses but water barely does, so a water-filled arm moves precisely. This is hydraulics, the same principle as in an excavator: force is transmitted from one point to another through a fluid. For more simple experiments with electricity and motion, see our easy physics experiments.
First motors and batteries (ages 7–9)
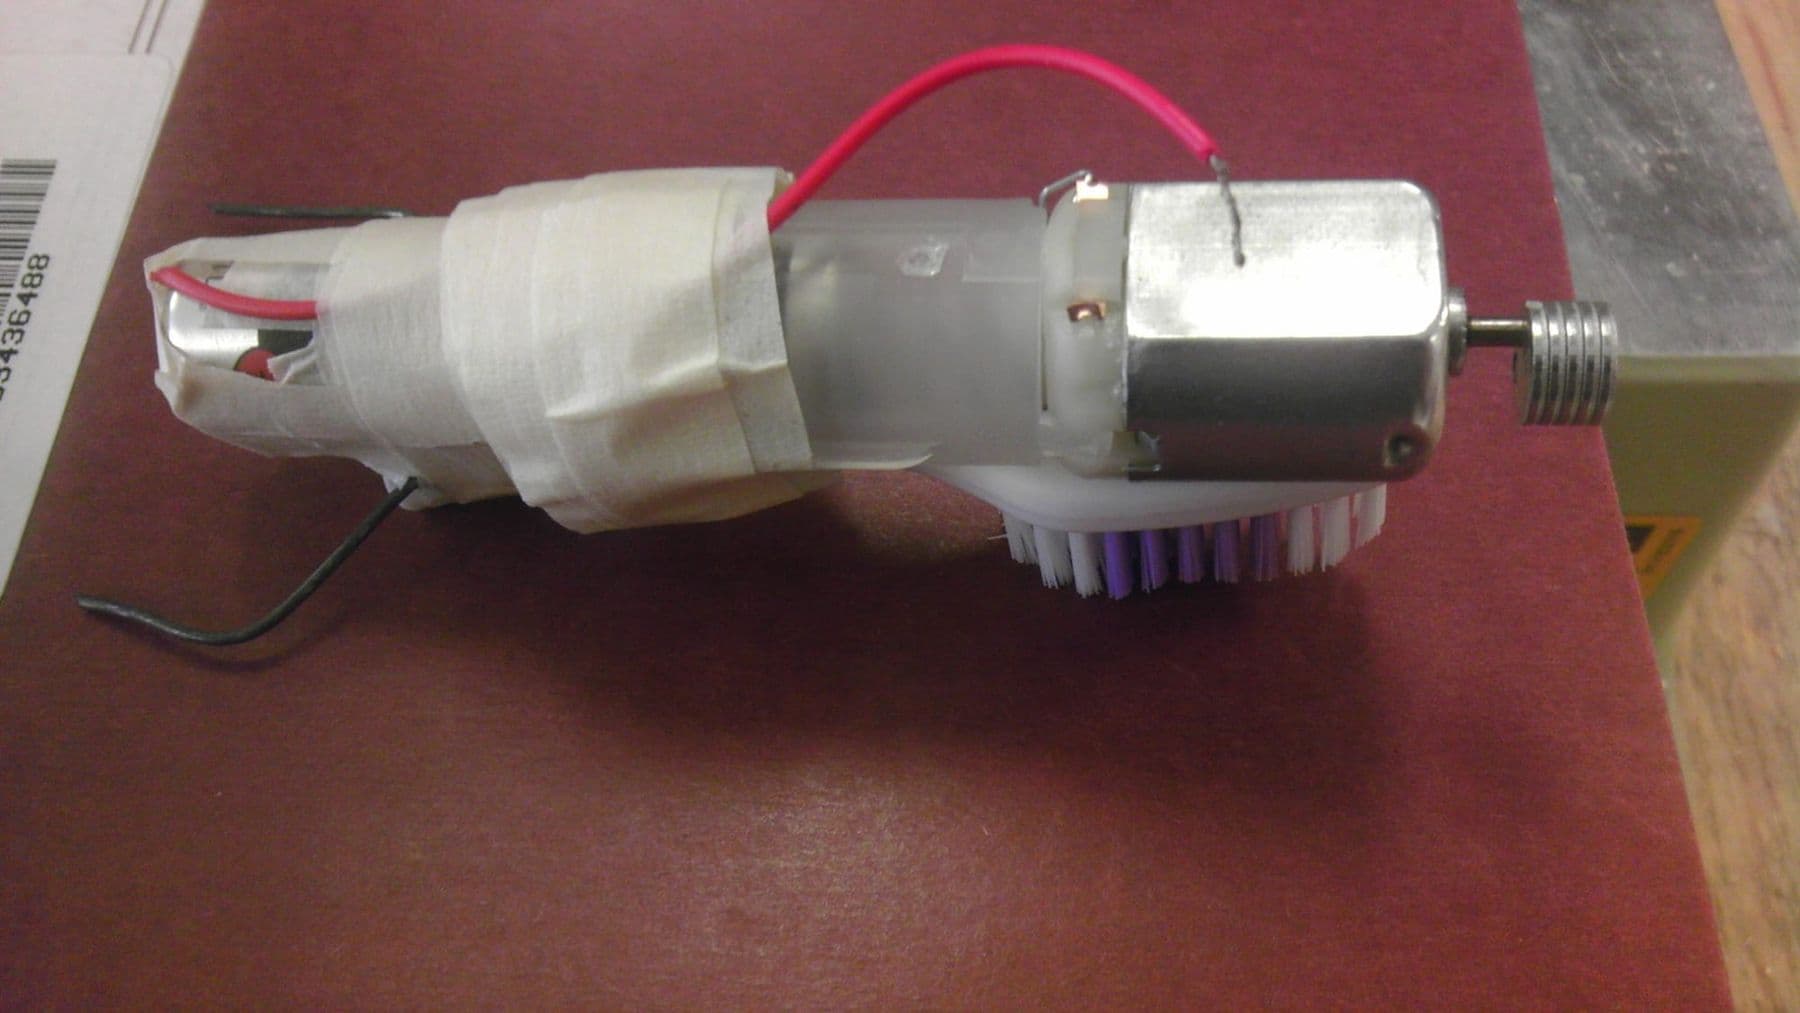
4. Bristlebot (toothbrush robot). Cut the head off a toothbrush, stick a tiny vibration motor on top with double-sided foam tape, and connect one motor wire under a coin cell and the other on top. The motor vibrates and the brush "runs" across the table. Experiment: bend the bristles at different angles and watch the direction change. Disconnect the battery when you are not playing.
5. Art robot (scribbling machine). Turn a plastic cup upside down and tape three markers to the rim as legs. On top, fix a small 1.5–3 volt motor and an AA battery. Attach an off-centre weight to the motor shaft (a blob of hot glue, a cork or a clothes peg) so it wobbles. Put it on a large sheet of paper and the robot draws by itself. Change the size of the weight and see how the drawing changes: that is a real experiment with variables.
6. Propeller car. A cardboard body, bottle caps for wheels, wooden skewers for axles running through straws. At the back, a DC motor with a small propeller, a 2 × AA battery holder and a switch. Your child builds a first real circuit: battery, switch, motor. Then swap the wires and the motor spins the other way: that is polarity.
Careful with coin cells! According to the US Consumer Product Safety Commission, a swallowed button battery can cause severe burns in a child's oesophagus in as little as two hours. Build coin-cell projects only with an adult present, keep spare cells locked away, and if there is a toddler at home, keep the bristlebot out of reach. If you suspect a battery has been swallowed, get medical help immediately.
Robots on screen and in code (ages 7–10)
7. A virtual robot in Tinkercad Circuits. No parts? Open the free Tinkercad Circuits in your browser. It has a virtual Arduino, servos, buttons and LEDs, and you can write code with blocks. First task: make the servo "wave" when a button is pressed. Mistakes here burn nothing.
8. An mBot race track. If you have an mBot, tape a track with turns onto white paper or the floor using black electrical tape. In mBlock your child writes a line-following program, then you make the track harder: a sharp bend, a crossing, an obstacle. For how a 7-year-old learns to program a robot, read mBot and Scratch.
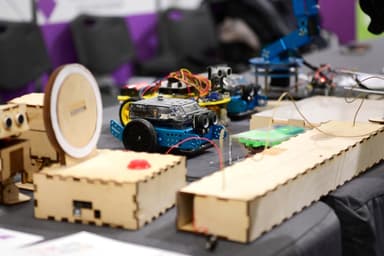
On our Programming and Robotics: Scratch and mBot course, children aged 7–10 do exactly this: they write programs with Scratch blocks and test each one on a real mBot that drives, follows a line and reacts with its sensors. The course runs for two months, and the mBot robot and the projects they build go home with them.
 Course at TDSRobotics and Electronics 7–9: from mBot to Your Own Otto Robot7 months · 3 phases · 72 h · Starts 21 NovDetails
Arduino projects for older kids (ages 10+)
9. A waving robot. A cardboard robot that waves at you when you come close. You need an Arduino Uno, an SG90 servo, an HC-SR04 distance sensor and jumper wires. The servo goes on pin 6, the sensor's TRIG on pin 9 and ECHO on pin 8:
#include <Servo.h>

const int TRIG = 9;
const int ECHO = 8;
Servo arm;

void setup() {
  pinMode(TRIG, OUTPUT);
  pinMode(ECHO, INPUT);
  arm.attach(6);                     // servo signal wire on pin 6
  arm.write(0);
}

void loop() {
  digitalWrite(TRIG, LOW);
  delayMicroseconds(2);
  digitalWrite(TRIG, HIGH);          // 10-microsecond pulse
  delayMicroseconds(10);
  digitalWrite(TRIG, LOW);
  long duration = pulseIn(ECHO, HIGH, 30000);
  float cm = duration * 0.017;       // distance in centimetres

  if (duration > 0 && cm < 20) {     // a hand closer than 20 cm: wave hello
    for (int i = 0; i < 3; i++) {
      arm.write(60);
      delay(300);
      arm.write(0);
      delay(300);
    }
  }
  delay(100);
}
One SG90 will run from the Arduino's 5V pin, but several servos need their own power supply. If Arduino is new to you, start with our Arduino for beginners guide.
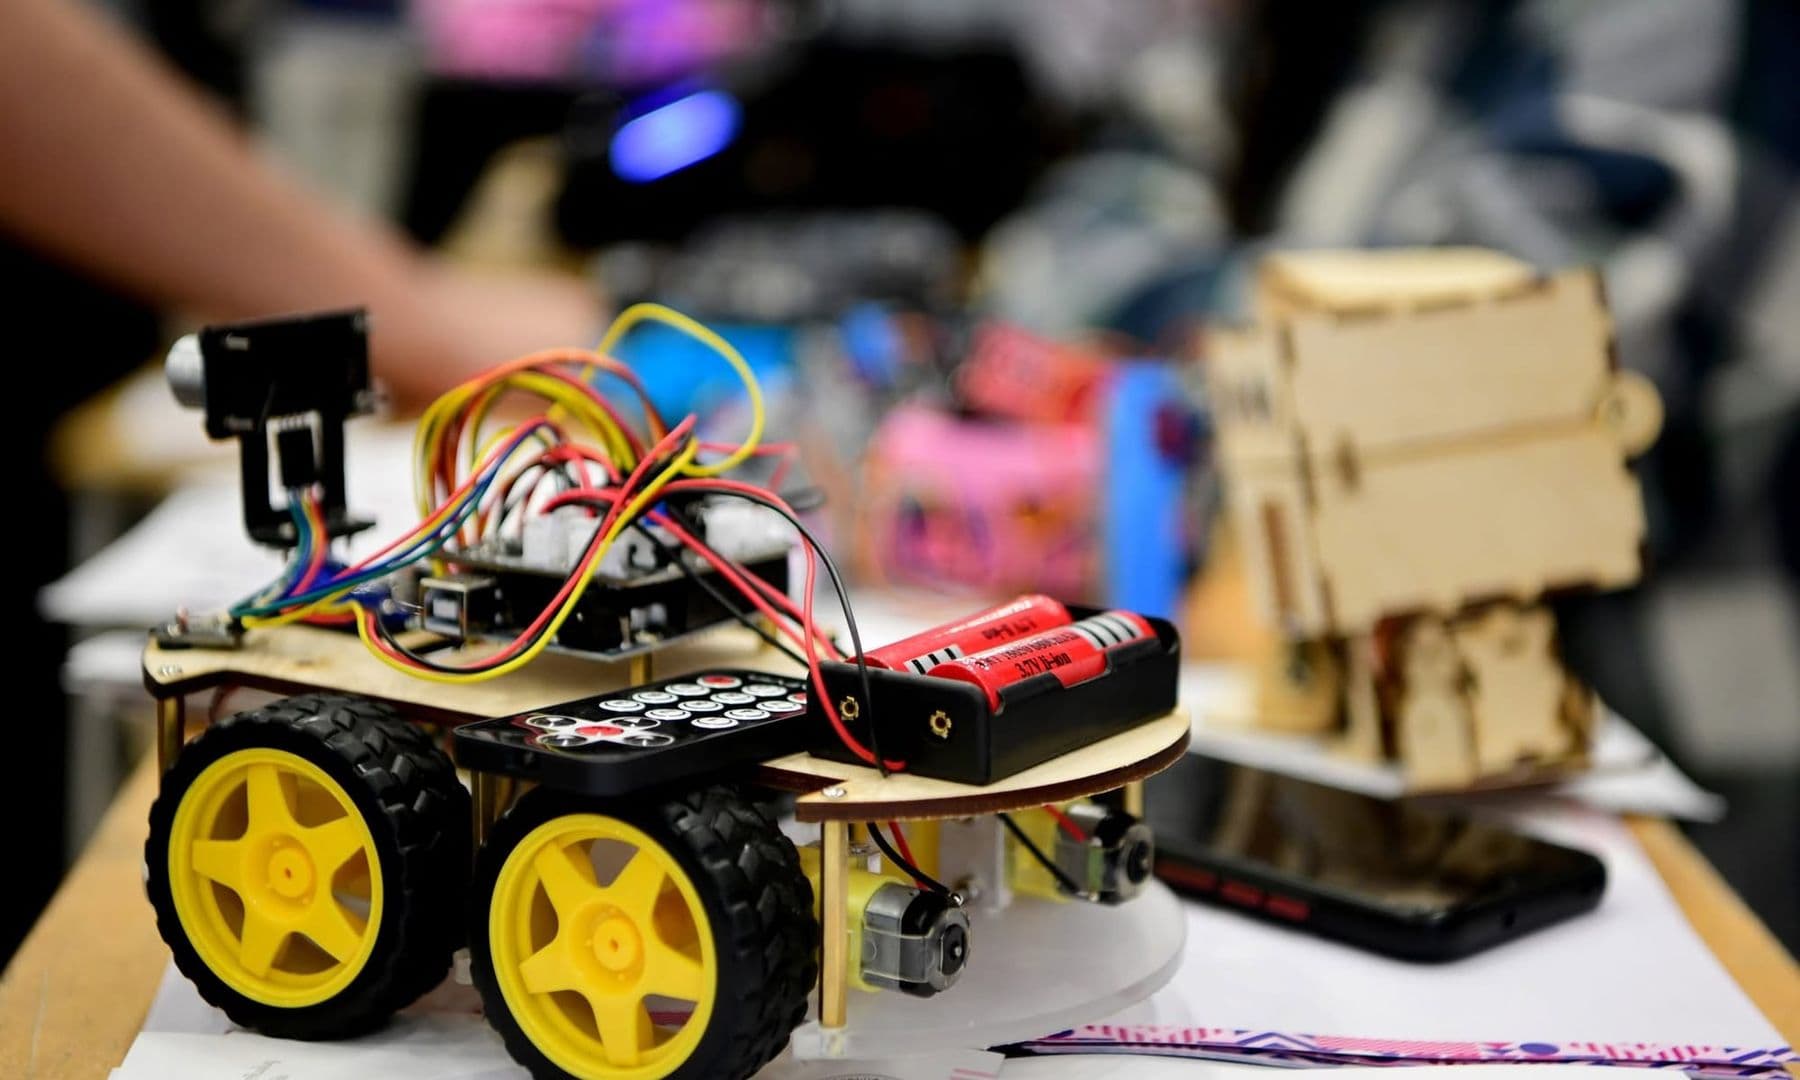
10. Obstacle-avoiding car. A two-motor chassis, a motor driver, an HC-SR04 and an Arduino: the car drives forward, sees a wall and turns. This is a serious project for a weekend or two. The parts list, wiring table and full code are in how to build your first robot.
Safety rules for robotics at home
- Cutting is an adult's job. Parents cut thick cardboard and skewers; children use round-tip scissors.
- Glue guns should be low-temperature and used together with your child. A drop of hot glue hurts.
- Batteries only. No project ever connects to a wall socket (230 V in Georgia). If a battery gets hot, disconnect it at once: there is probably a short circuit somewhere.
- Keep water and electronics apart. The hydraulic arm has no motors or batteries, and should stay that way.
- Small parts (cells, screws, LEDs) stay away from children under three.
How to turn play into learning
Children learn when they do the thinking. A few simple habits turn a craft session into a real STEM activity:
- Ask before you help: "Why do you think it isn't moving?"
- Change one thing at a time. Change three at once and you won't know which one worked.
- Measure. How far does the bristlebot go in 10 seconds? How much weight can the hydraulic arm lift?
- Write it down. An engineer's notebook with photos and notes shows your child how much they have learned.
- Present it. A "presentation" to the family teaches explaining and confidence.
At the start of each project, ask your child: "What should our robot do?" and write the answer on a sheet of paper. When the robot is ready, go back to the sheet and check together whether you reached the goal. This simple habit is the most important habit of an engineer.
When home projects are no longer enough
If after the bristlebot your child asks for a "real" robot, the next step is building one together, with real parts and an instructor. At our Kid + Parent: Build a Moving Robot workshop, a child aged 8–12 and a parent build and program a moving robot together in three hours. No experience is needed. It is a good way to see how interested your child really is in robotics before committing to a two-month course. The courses themselves, by age (7–10, 10–14 and 13–17), are on one page: robotics courses for kids.
Frequently asked questions
What is the easiest robot to make at home?
The bristlebot: a toothbrush head, a vibration motor and a coin cell, done in 30 minutes. Without electronics, try a cardboard hand with strings or a hydraulic syringe arm. The materials for both are in almost every home.
At what age can kids do robotics at home?
From 5 with no electronics: the "human robot" game and cardboard builds. From 7–9, small motors and batteries with an adult present. Arduino and typed code work best from about 10.
Do kids need an expensive robotics kit?
Not to start. Six of the ten projects use everyday materials: cardboard, syringes, a cup, markers, a small motor and batteries. You will need a kit once your child moves on to a programmable robot.
How can I make a robot from recycled materials?
Cardboard boxes, bottle caps, straws, skewers and plastic cups are excellent building materials. Use them for the body, wheels and axles, then add a small DC motor and a battery holder with a switch to make it move.
How can I tell if my child is seriously interested in robotics?
Watch whether they come back to a project on their own, ask to improve it and ask how things work. Those signs matter more than how well the first robot turned out. A parent-and-child workshop or a consultation is a good way to find out.
If you would like to build your first real robot together with your child, join our Kid + Parent: Build a Moving Robot workshop. And if you are wondering which course would suit your child, book a free consultation.
Sources
- Hydraulic Arm Challenge, TeachEngineering
- How to Make a Bristle Bot: A Simple STEM Robot for Kids, Teach Beside Me
- Scribbling Machines, Exploratorium
- Button Cell and Coin Battery Information Center, U.S. Consumer Product Safety Commission
- Arduino Ultrasonic Sensor (HC-SR04) tutorial, ArduinoGetStarted