












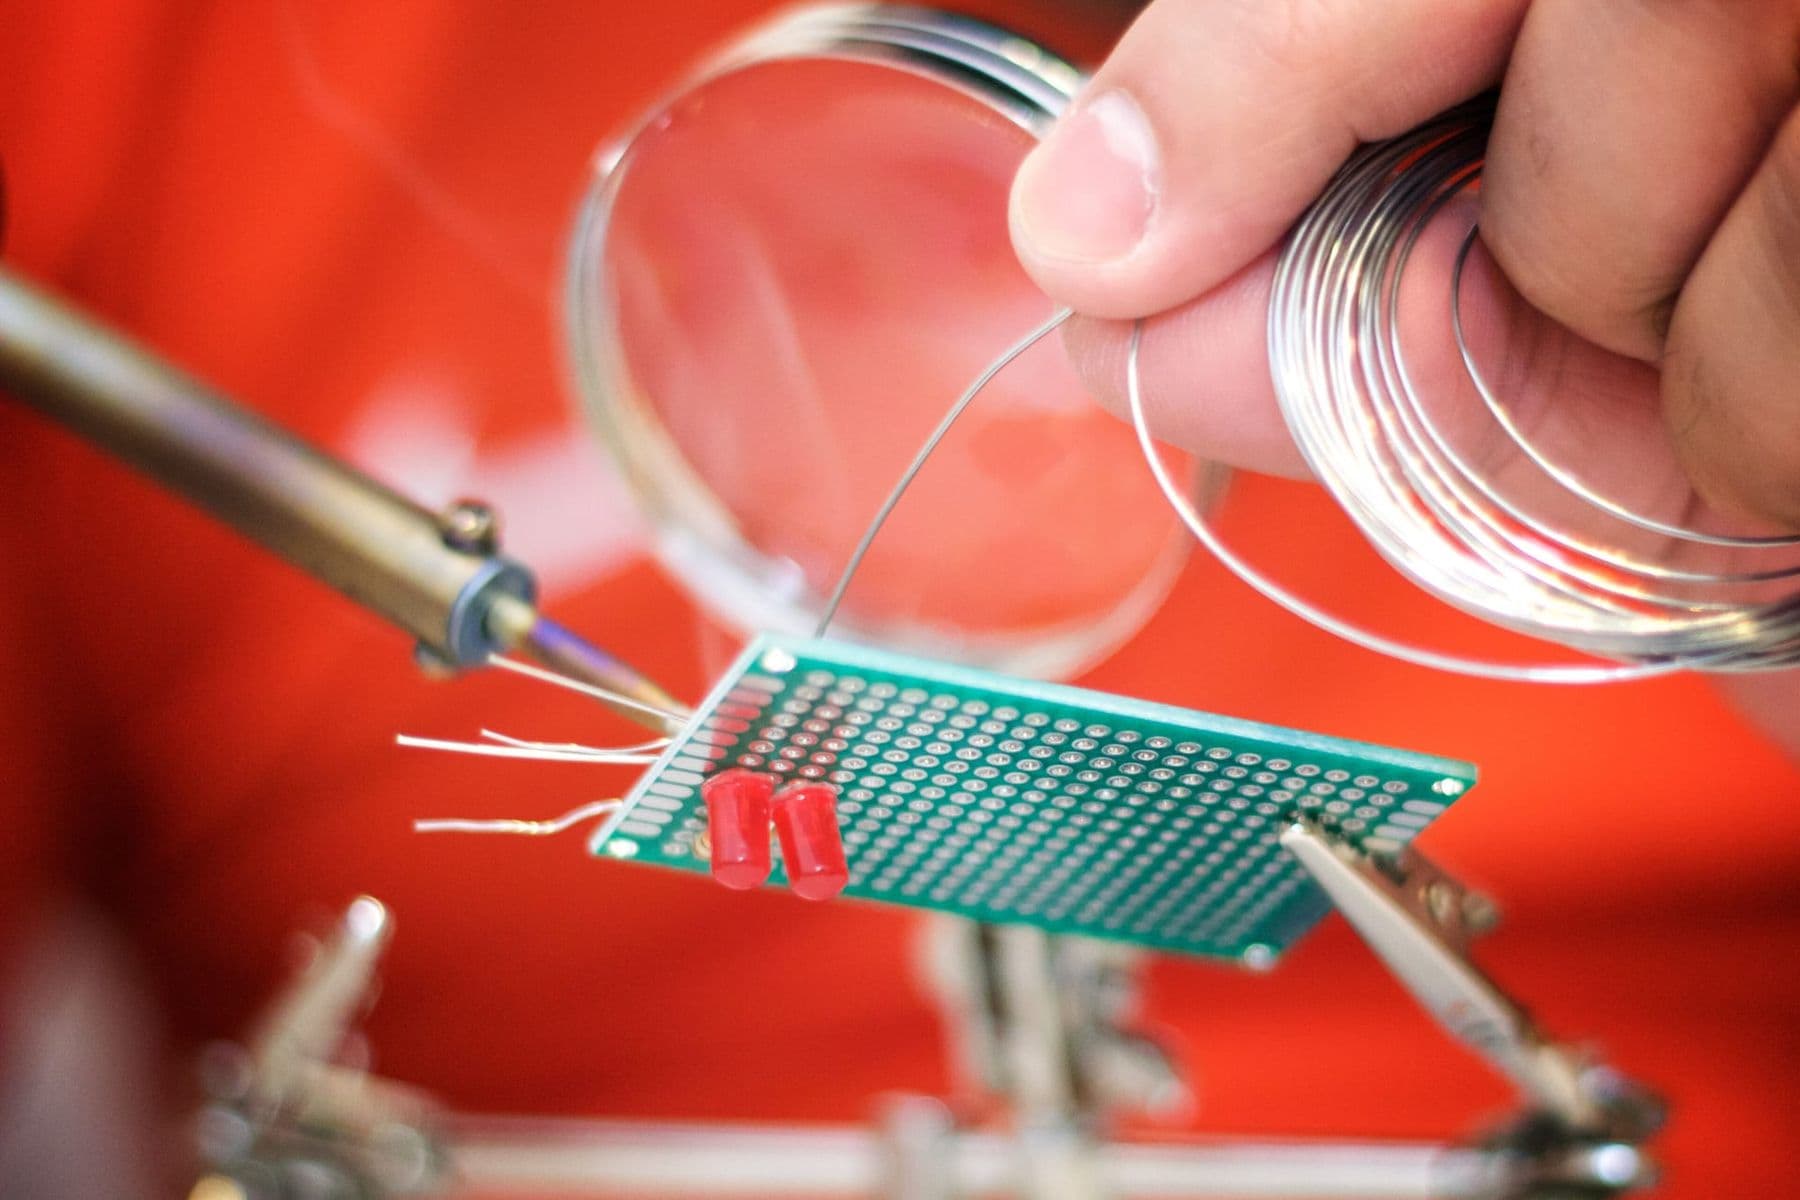
Soldering joins electronic parts with a molten metal alloy called solder. A beginner needs a temperature-controlled soldering iron, 0.8 mm flux-core solder, a stand, a sponge, safety glasses and good ventilation. For leaded solder the iron tip is usually set to about 315–370°C; for lead-free solder, about 370–400°C.
Soldering is not hard, but two things matter at the same time: safety and the right sequence. This guide explains the tools you need, which solder to choose, why you should not breathe the fumes, and gives you 7 rules that will get you clean, reliable joints on your very first day.
What is soldering, and how is it different from welding?
People often search for welding when they mean soldering, but they are different processes. In welding the metal parts themselves melt and fuse together. In soldering the parts never melt: only the filler alloy (solder) melts, bonding the two surfaces and creating an electrical connection. By the American Welding Society's definition, soldering uses fillers that melt below 450°C (840°F); above that it is brazing.
| Process | What melts | Temperature | Used for |
|---|---|---|---|
| Soldering | only the solder | below 450°C | electronics, wires, circuit boards |
| Brazing | a filler alloy | above 450°C | pipes, tools |
| Welding | the metal parts themselves | far higher | structures, vehicles |
Electronics uses only soldering.
What tools do you need to solder?
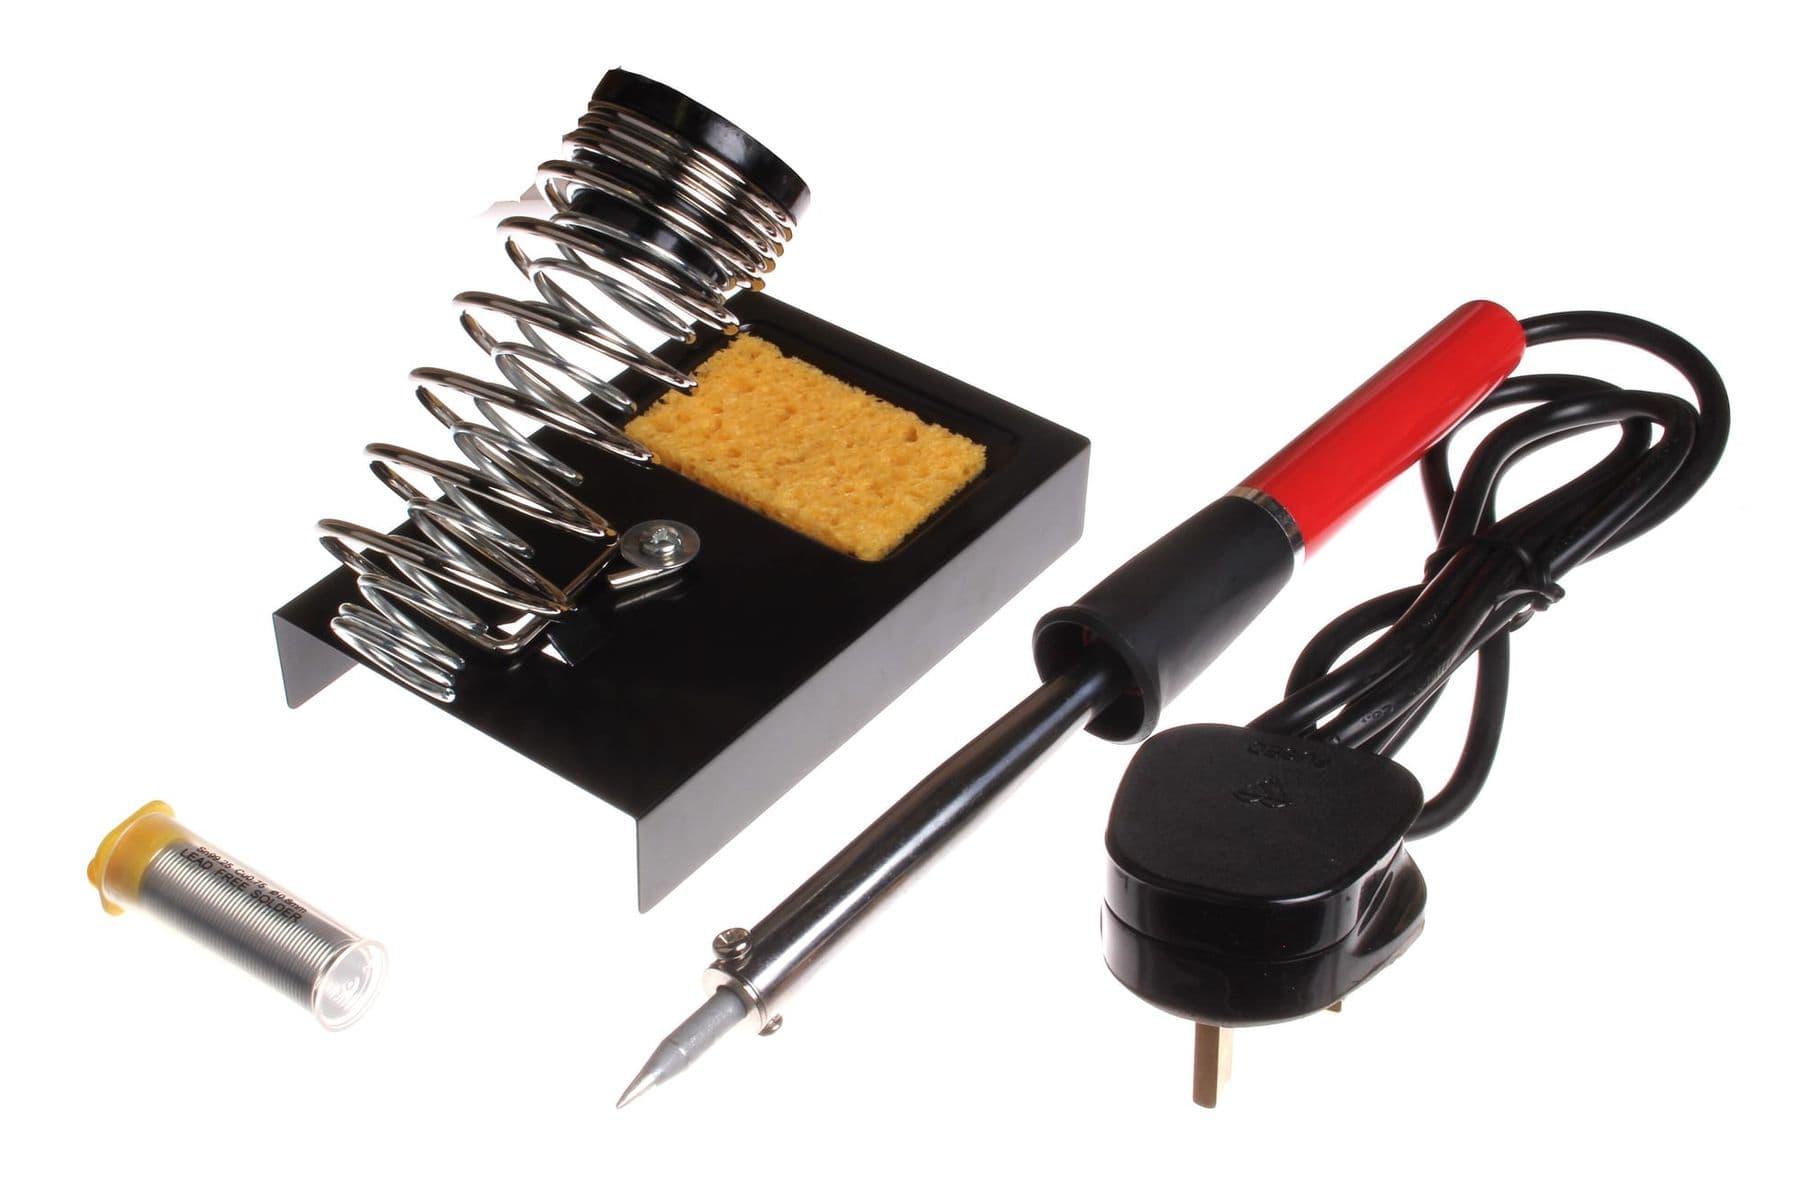
The minimum kit:
- A soldering iron, ideally temperature-controlled;
- A stand, so the hot iron never rolls across the desk;
- A sponge or brass wool to clean the tip (the sponge should be slightly damp);
- Flux-core solder, 0.5–1 mm thick (0.8 mm is a good all-rounder);
- Extra flux as a pen or gel for difficult joints;
- "Helping hands", a clamp that holds the board;
- Flush cutters to trim leads;
- Desoldering braid or a solder pump to fix mistakes;
- Safety glasses, a heat-resistant mat and a fan with a filter or a fume extractor.
Which soldering iron to choose, and what temperature?
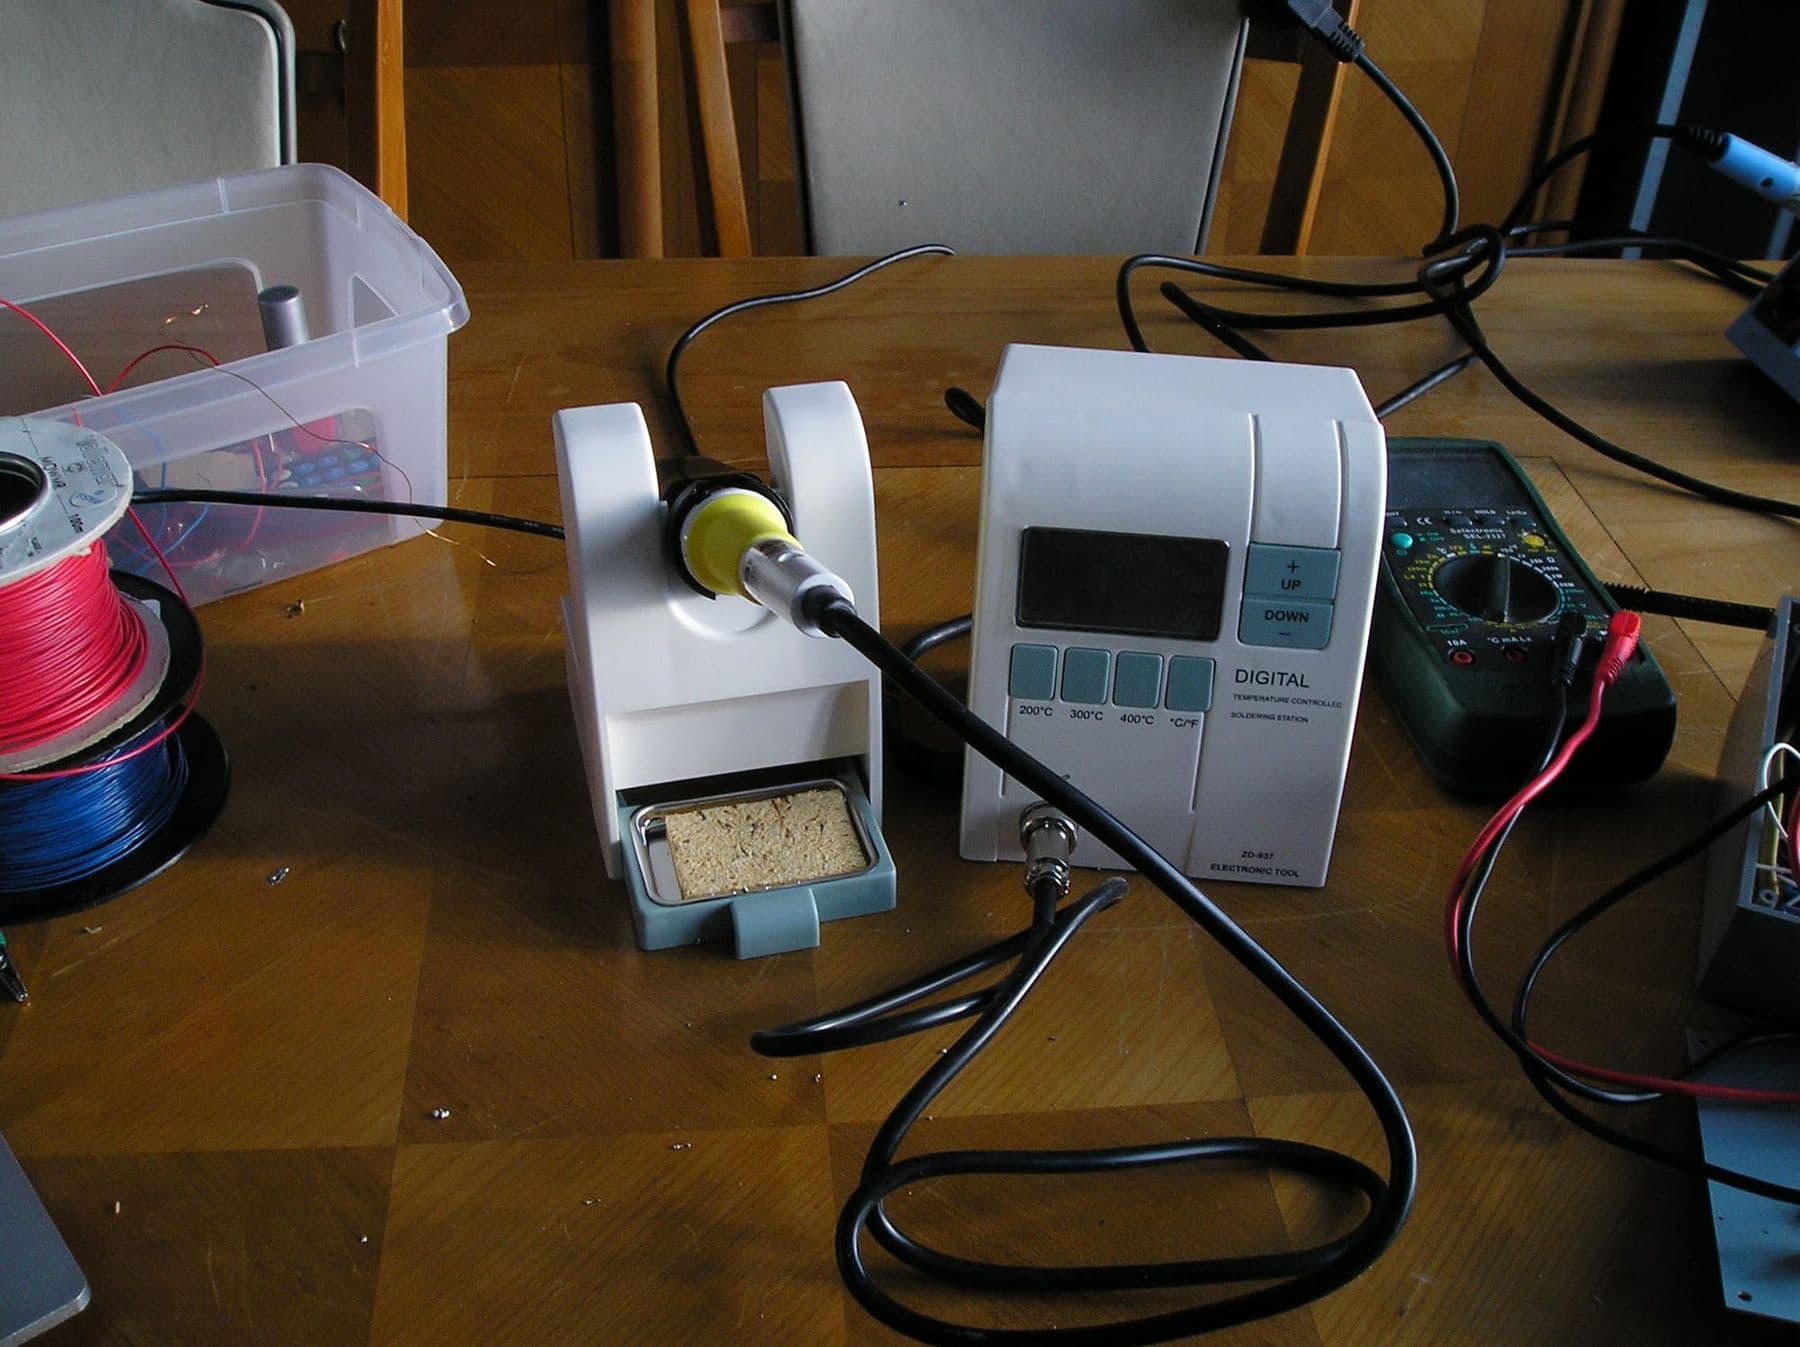
Electronics work uses a pencil-style iron. Adafruit's guide says a basic iron of at least 25 W will do, an adjustable iron of around 30 W is better, and a temperature-controlled station of 50 W or more with interchangeable tips is best. A soldering gun or an open flame is not suitable for electronics.
| Iron type | Power | Temperature control | Best for |
|---|---|---|---|
| Basic pencil iron | from 25 W | none | occasional simple jobs |
| Adjustable pencil iron | about 30 W and up | dial on the handle | beginners, home use |
| Soldering station | 50 W and up | digital, precise | serious hobby, labs |
| Butane iron | varies | rough | emergencies in the field |
Temperature: 315–370°C for leaded solder, 370–400°C for lead-free. SparkFun suggests 325–375°C as a good medium setting, a little higher for thick wires and large pads. If the flux burns off instantly and the tip turns black, the iron is too hot: turn it down. An overheated iron also ruins the tip and produces more fumes.
Solder and flux: leaded or lead-free?
"Solder" is an alloy: tin and lead, or, in lead-free versions, mostly tin with silver and copper.
| Alloy | Composition | Melting point | Character |
|---|---|---|---|
| Sn63Pb37 | 63% tin, 37% lead | 183°C | melts at a single point, the easiest |
| Sn60Pb40 | 60% tin, 40% lead | 183–190°C | common and easy to use |
| SAC305 (lead-free) | 96.5% tin, 3% silver, 0.5% copper | 217–220°C | needs more heat and flux |
Leaded solder flows more easily and gives a shiny joint. Lead-free is a bit harder to work, its joints look duller, but it removes contact with lead. Some university safety guides advise against leaded solder altogether, so for children, schools and homes where food may end up on the same table, choose lead-free.
Flux strips the thin oxide layer from metal surfaces and helps solder flow. Most solder has flux inside (rosin core), so you rarely need extra, but on a stubborn joint a little more flux often works wonders. No-clean flux residue does not need removing; if you want to, wipe it with isopropyl alcohol.
Soldering safety: fumes, lead and burns
Fumes. The white smoke that rises while you solder comes mainly from the flux (rosin). According to the UK Health and Safety Executive (HSE), rosin flux fume is one of the leading causes of occupational asthma, and once developed the condition can be permanent. So:
- keep your head out of the fume plume;
- work by an open window or, better, with extraction that captures the fume at the tip;
- if you solder a lot, a filtered fan or fume extractor is essential;
- do not run the iron hotter than you need.
Lead. With leaded solder the main risk is hand-to-mouth transfer. Do not eat or drink at the bench, and wash your hands well with soap after soldering.
Burns and fire. The tip runs at 300–400°C. It belongs in its stand, the cable should not hang over the edge of the desk, and the iron should be unplugged when you finish. Keep paper, cardboard and alcohol well away. Safety glasses are a must: trimmed leads and drops of solder can fly.
If you get burned: hold the burn under cool running water for 20 minutes. Do not apply creams, oil or butter, and do not burst blisters. For large or deep burns, or burns to the face, get medical help.
Children solder only under adult supervision, with a temperature-controlled iron, safety glasses and lead-free solder. Their first session is best spent on a blank practice board rather than a valuable device.
7 rules for good soldering
- Keep the tip clean and tinned. Heat it, wipe it on the sponge and add a little solder ("tinning"). Tin it again when you finish: the tip will last much longer.
- Heat the lead and the pad together. The side of the tip should touch both the component lead and the metal pad on the board. A few seconds is enough.
- Feed solder to the joint, not to the tip. The solder should melt on the hot lead and pad. If it melts on the tip and drips down, the joint will be poor.
- Remove the solder first, then the iron. Once enough solder has flowed, pull the wire away, then lift the tip.
- Do not move it until it cools. Leave the part alone for a few seconds; a disturbed joint turns dull and cracked.
- Use just enough solder. A good joint looks like a small volcano or cone, evenly wrapped around the lead. A ball means too much solder or poor heating.
- Trim and inspect. Clip the excess lead above the joint (protect your eyes), look at it under a magnifier and use your multimeter's continuity mode to check for bridges between neighbouring joints.
Before your first real project, make 20–30 practice joints on a blank perfboard: resistors, LEDs, wires. Then remove some with braid or a pump. Within an hour your hands will know the motion, and your first real board will come out clean.
Good vs bad solder joints: how to tell
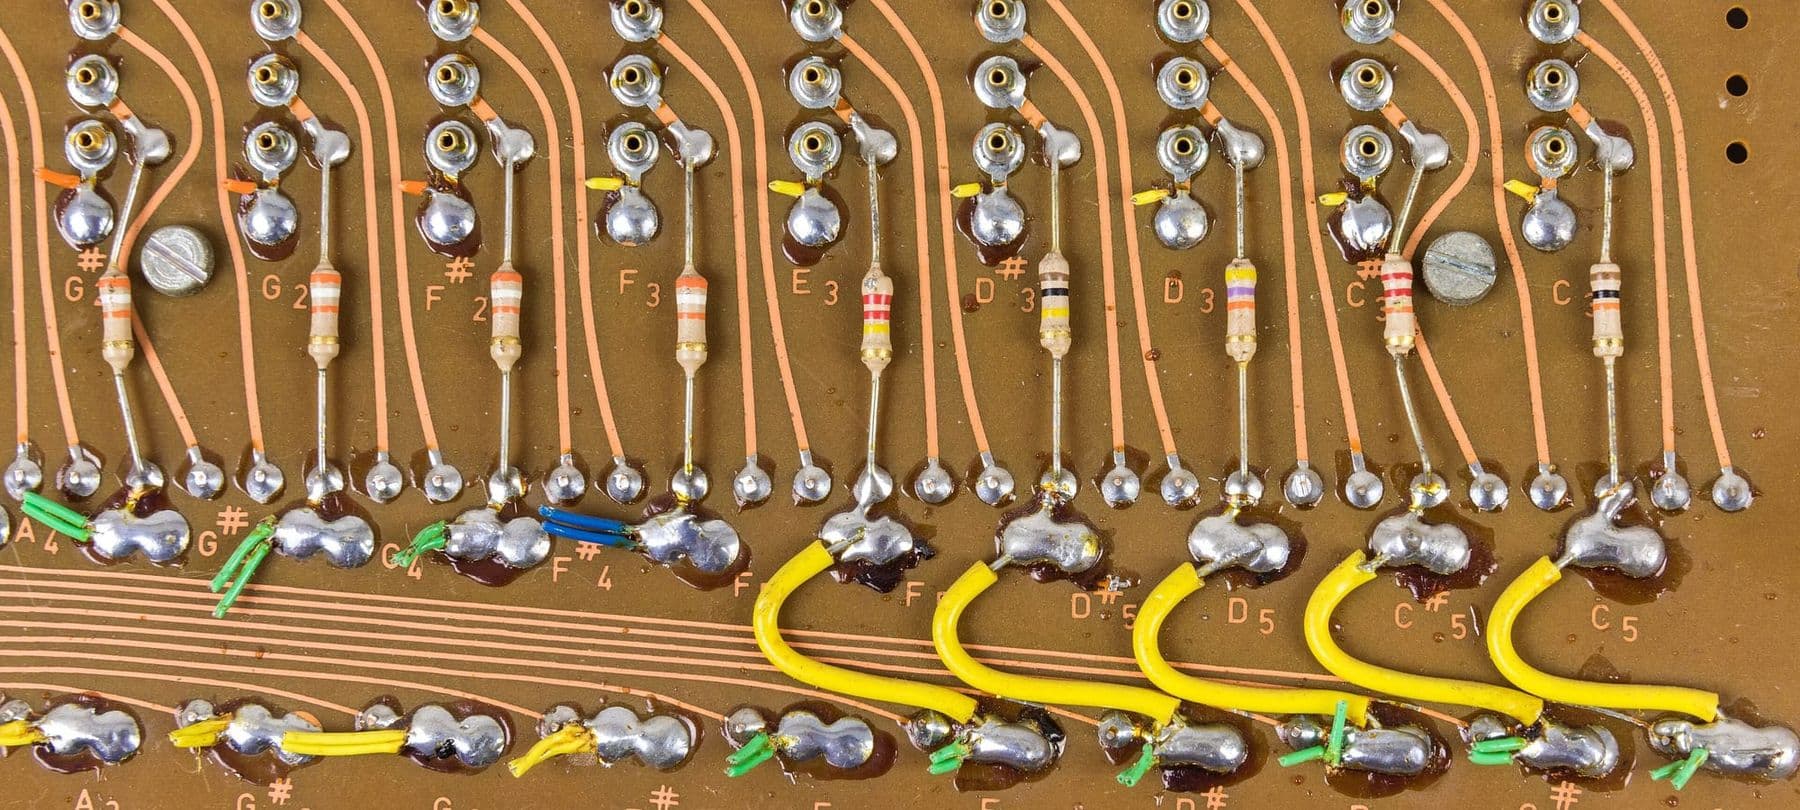
| What you see | What it means | How to fix it |
|---|---|---|
| Shiny, concave cone, lead visible | a good joint | nothing |
| Dull, grainy, cracked | a cold or disturbed joint | add flux and reheat |
| A ball of solder not wetting the pad | the pad was not heated | more heat and flux |
| Part of the pad still bare | too little solder | add a little more |
| Solder joining two neighbouring joints | a bridge, a short circuit | remove the excess with braid |
| Pad lifted or blackened | overheating | lower temperature, less time |
Good lead-free joints are naturally a little dull, so do not judge by shine alone. Shape matters most: the solder should flow evenly onto both the lead and the pad, with a concave edge.
What to solder first
- A practice perfboard with LEDs and resistors. Build the circuit on a breadboard first, then solder it; see your first electronic circuit on a breadboard.
- Header pins on a sensor module or an Arduino Nano, a very common first job.
- Wires onto a motor. Almost every robot needs wires soldered to its DC motors; see how to build your first robot.
- A ready-made kit such as a blinking LED or an electronic dice, with all parts and instructions in one box.
Before you solder, it helps to know the basics: why an LED needs a resistor and how to measure voltage. Both are explained in electronics for beginners: Ohm's law.
Where teens can learn electronics and robotics in Tbilisi
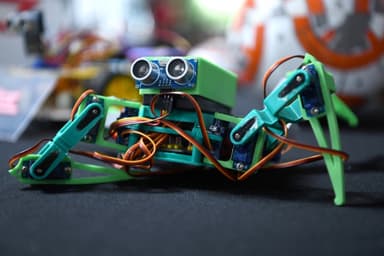
If your child is 13–17 and wants to go deeper into electronics, on our Electronics and Robotics (Advanced) course students go from Ohm's law, the breadboard and Arduino C++ all the way to a 4WD robot and a robotic arm, with sensors, smart devices (an irrigation system, a door lock, a climate monitor) and a final robot competition. The kit and materials are included, and the robots and prototypes they build are theirs to keep. Younger beginners aged 10–13 have a course of their own: see both on our electronics and Arduino courses page.
 Course at TDSRobotics, Electronics and Smart Systems: From a Smart City to Autonomous Robots7 months · 3 phases · 72 h · Starts 20 NovDetails
Frequently asked questions
What temperature should a soldering iron be?
Usually 315–370°C for leaded solder and 370–400°C for lead-free. Start at the lower end and raise it only if the solder melts slowly. If the flux burns off instantly and the tip turns black, the iron is too hot.
What is the difference between soldering and welding?
In welding the metal parts themselves melt and fuse. In soldering the parts do not melt; only the solder does, below 450°C. Electronics uses soldering only.
Should I use leaded or lead-free solder?
Leaded solder (60/40 or 63/37) is easier to work with, but hand washing and no food at the bench are essential. For children and homes, lead-free is the better choice, though it needs a hotter iron and a little more flux. Either way, choose 0.8 mm flux-core solder.
Are soldering fumes dangerous?
Yes, if you breathe them often without ventilation. Rosin flux fume is a recognised cause of occupational asthma. Work by an open window or with extraction, keep your head out of the plume and do not overheat the iron.
Which soldering iron should a beginner buy?
A temperature-controlled iron (about 30 W or more) or a simple station, with a stand and a sponge. A basic iron without temperature control often runs too hot and wears out its tip quickly. For electronics, do not buy a soldering gun or a butane iron.
Can kids learn to solder?
Yes, with adult supervision and the right equipment: a temperature-controlled iron, lead-free solder, safety glasses, extraction and a stand. The key is that the child can follow instructions precisely and respects the hot tip. The first step is always a breadboard, where no soldering is needed at all.
If you would like your child to learn electronics and robotics systematically with a mentor, book a free consultation and we will choose a course that matches their age and level.
Sources
- Adafruit Guide to Excellent Soldering: Tools, Adafruit Learning System
- How to Solder: Through-Hole Soldering, SparkFun Learn
- Solderers: occupational asthma and rosin flux fume, Health and Safety Executive (UK)
- Soldering Safety Guidelines, Rensselaer Polytechnic Institute EHS
- Burns and scalds, NHS
- Solder Melting Point Guide: Leaded vs. Lead-Free, LCSC
- What's the Difference Between Soldering, Brazing, and Welding?, Lincoln Tech