















Ohm's law says that the current in a circuit equals the voltage divided by the resistance: I = V / R. A 9-volt battery across a 450-ohm resistor, for example, pushes 20 milliamps through it. If you know any two of the three quantities, you can always work out the third. It is the first formula in electronics and the one you will use most.
You use it to choose a resistor for an LED, to check whether a part can survive the current, and to understand why a wire gets warm. Below we explain it simply: first with water, then with numbers and worked problems, and finally with a multimeter in your hand.
What are voltage, current and resistance?
The easiest way to picture a circuit is plumbing. Imagine a water tank with a hose at the bottom.
- Voltage (V, volts) is the pressure pushing the water. The higher the tank, the stronger the push. The 1.5 V or 9 V printed on a battery is this "pressure".
- Current (I, amperes) is how much water flows through the hose each second. In hobby electronics current is usually measured in milliamps (mA): 1 A = 1000 mA.
- Resistance (R, ohms, Ω) is how narrow the hose is. A narrow hose lets less water through at the same pressure. A resistor is a deliberate narrow spot in the circuit.
The analogy is not perfect, but it captures the essentials: voltage pushes, current flows, resistance limits the flow.
| Quantity | Symbol | Unit | Water analogy | Typical value |
|---|---|---|---|---|
| Voltage | V | volt (V) | pressure | AA cell 1.5 V, USB 5 V |
| Current | I | ampere (A) | flow | LED 10–20 mA |
| Resistance | R | ohm (Ω) | hose narrowness | resistor 220 Ω, 10 kΩ |
| Power | P | watt (W) | work per second | resistor 0.25 W |
Ohm's law formula: how to calculate current, voltage and resistance
Ohm's law is written three ways, and all three say the same thing:
- V = I × R: voltage equals current times resistance;
- I = V / R: current equals voltage divided by resistance;
- R = V / I: resistance equals voltage divided by current.
To remember it, draw a triangle with V on top and I and R at the bottom. Cover the quantity you want with your finger; the other two tell you whether to multiply or divide. One rule matters more than any other: convert milliamps to amps (15 mA = 0.015 A) and kilohms to ohms (4.7 kΩ = 4700 Ω) before you calculate.
Three worked problems
- Find the current. A 450 Ω resistor is connected to a 9 V battery. I = 9 / 450 = 0.02 A, or 20 mA.
- Find the voltage. 15 mA flows through a 330 Ω resistor. V = 0.015 × 330 = 4.95 V. Almost 5 volts "drop" across the resistor.
- Find the resistance. You want 10 mA from a 5 V supply. R = 5 / 0.01 = 500 Ω. A 500 Ω resistor is rare in shops, so you take a nearby, slightly larger standard value: 510 or 560 Ω.
How to calculate a resistor for an LED
An LED does not follow Ohm's law the way a resistor does. The voltage across it stays almost constant (its "forward voltage", Vf), while the current can shoot up. That is why an LED always needs a resistor in series to limit the current.
The formula is R = (Vsupply − VLED) / I. Subtract the LED's voltage from the supply; the resistor takes what is left, and Ohm's law gives its value.
Example 1: a red LED on an Arduino 5 V pin. A red LED's Vf is about 2 V and we want 15 mA. R = (5 − 2) / 0.015 = 200 Ω. Take the standard 220 Ω; the current becomes 3 / 220 ≈ 13.6 mA. The LED is bright and we stay well inside the Arduino Uno R3's 20 mA per-pin rating.
Example 2: the same LED on a 9 V battery. R = (9 − 2) / 0.015 ≈ 467 Ω, so use 470 Ω. Current ≈ 14.9 mA.
Example 3: a blue LED on 5 V. Blue LEDs drop roughly 3–3.7 V. With 3.2 V: R = (5 − 3.2) / 0.015 = 120 Ω. For some margin use 150 Ω, about 12 mA.
| LED colour | Forward voltage (Vf) | Resistor at 5 V | Resistor at 9 V |
|---|---|---|---|
| Red | 1.8–2.1 V | 220 Ω | 470 Ω |
| Yellow | 1.9–2.2 V | 220 Ω | 470 Ω |
| Green | 2–3.1 V | 150–220 Ω | 390–470 Ω |
| Blue | 3–3.7 V | 150 Ω | 390 Ω |
| White | 3–3.4 V | 150 Ω | 390 Ω |
The table assumes roughly 12–15 mA; your LED's exact Vf is in its datasheet. One detail that catches people out: the newer Arduino Uno R4 can only supply 8 mA per pin. For a red LED on an R4 use 390–470 Ω, since (5 − 2) / 0.008 ≈ 375 Ω.
When in doubt, go bigger. With 470 Ω an LED is a little dimmer, but neither the LED nor the Arduino pin will be damaged. You will almost never need less than 100 Ω for an LED on 5 volts.
Power: why a resistor gets hot
Current through a resistor turns into heat. The power formula tells you how much: P = V × I, or, substituting Ohm's law, P = I² × R.
The resistors in starter kits are usually rated 0.25 W. In example 1, 3 V drops across the 220 Ω resistor and 13.6 mA flows: P = 3 × 0.0136 ≈ 0.04 W. That is about six times below the rating; the resistor will not even feel warm.
Now a mistake: a 100 Ω resistor straight across a 9 V battery. I = 9 / 100 = 0.09 A and P = 9 × 0.09 = 0.81 W, more than three times what a 0.25 W resistor can handle. It will get hot, may burn out, and the battery drains fast. The rule: calculate P and choose a resistor rated at least twice that.
Series and parallel circuits
In series, parts sit one after another and current has a single path. Resistances simply add: R = R1 + R2 + … For example, 220 Ω + 330 Ω = 550 Ω. The same current flows through every part, and the voltage is shared between them.
In parallel, current has several paths. The total resistance is always lower than the smallest resistor. For two resistors use R = (R1 × R2) / (R1 + R2). Two 1 kΩ resistors in parallel give 500 Ω; 100 Ω and 200 Ω give about 66.7 Ω. Every parallel branch sees the same voltage.
The voltage divider
Two resistors in series split a voltage: Vout = Vin × R2 / (R1 + R2). Two 10 kΩ resistors on 5 V give 2.5 V in the middle. A potentiometer works this way, and so does a light sensor: if R2 is a photoresistor (LDR), its resistance drops in light and Vout falls; in the dark Vout rises. That is exactly how an Arduino "knows" how dark a room is.
How to measure voltage, current and resistance with a multimeter
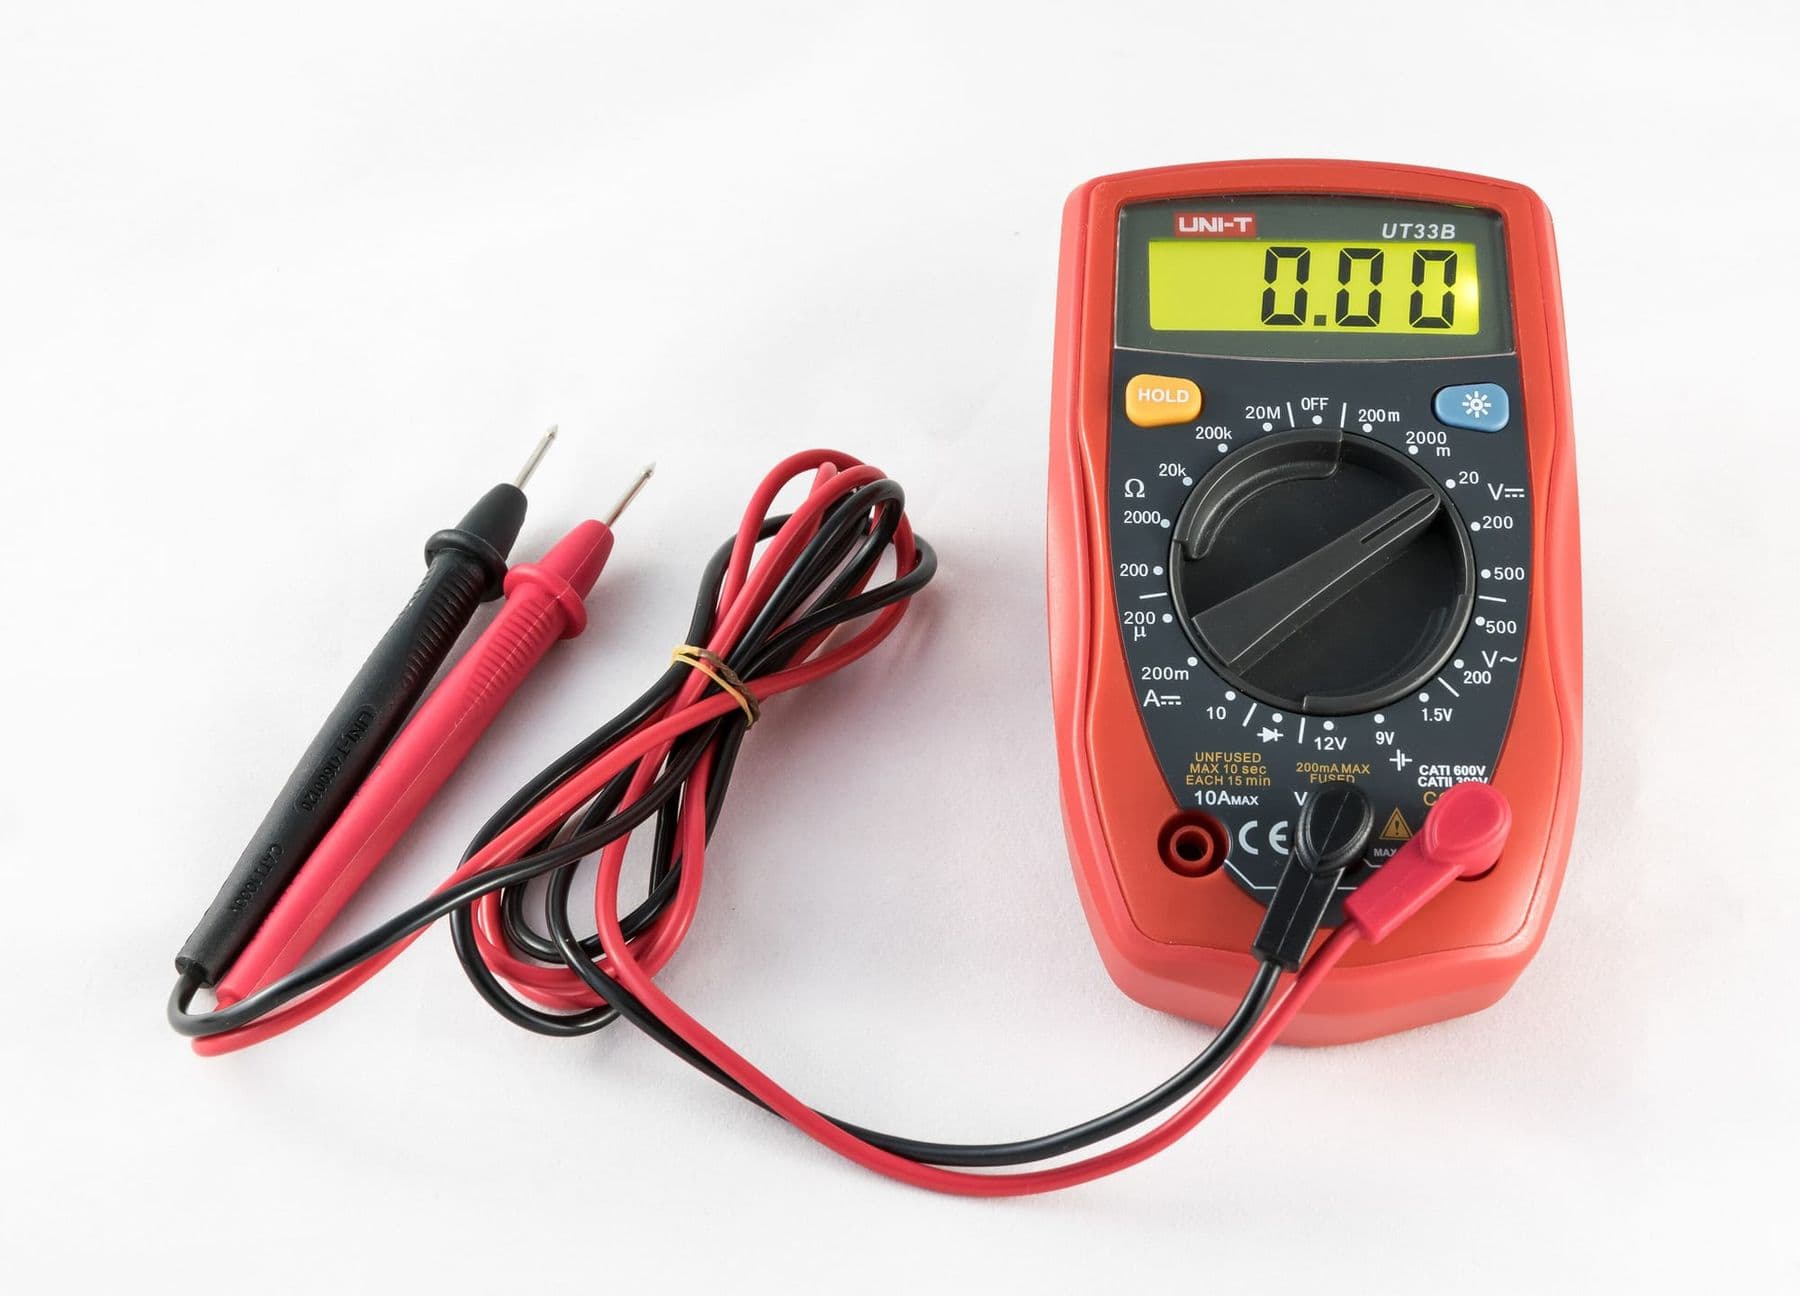
The multimeter is the main tool in electronics, and a basic digital model is enough to start. The black probe always goes into COM; the red one depends on what you measure.
- Voltage: set the dial to DC volts (V with a straight line) and touch the probes across the part, red to plus, black to minus.
- Current: break the circuit and put the meter in series so the current flows through it. Move the red probe to the mA or 10A socket.
- Resistance: switch the power off and take the resistor out of the circuit, otherwise neighbouring parts change the reading.
- Continuity: the beeper mode tells you whether two points are connected. Use it with the power off.
The classic mistake is measuring a battery's voltage while the meter is still set to current. The meter then short-circuits the battery and blows its internal fuse. After every current measurement, move the red probe back to the V socket.
Basic electronic components: what each one does
| Component | What it does | How to recognise it |
|---|---|---|
| Resistor | limits current | colour bands, Ω |
| LED | lights up, conducts one way | long leg is plus |
| Push button | closes the circuit when pressed | two or four legs |
| Potentiometer | variable resistor, voltage divider | knob, often 10 kΩ |
| Photoresistor (LDR) | resistance changes with light | round, zigzag track |
| Capacitor | stores charge, smooths voltage | μF; electrolytics are polarised |
| Transistor | small current controls a larger one | three legs: B, C, E |
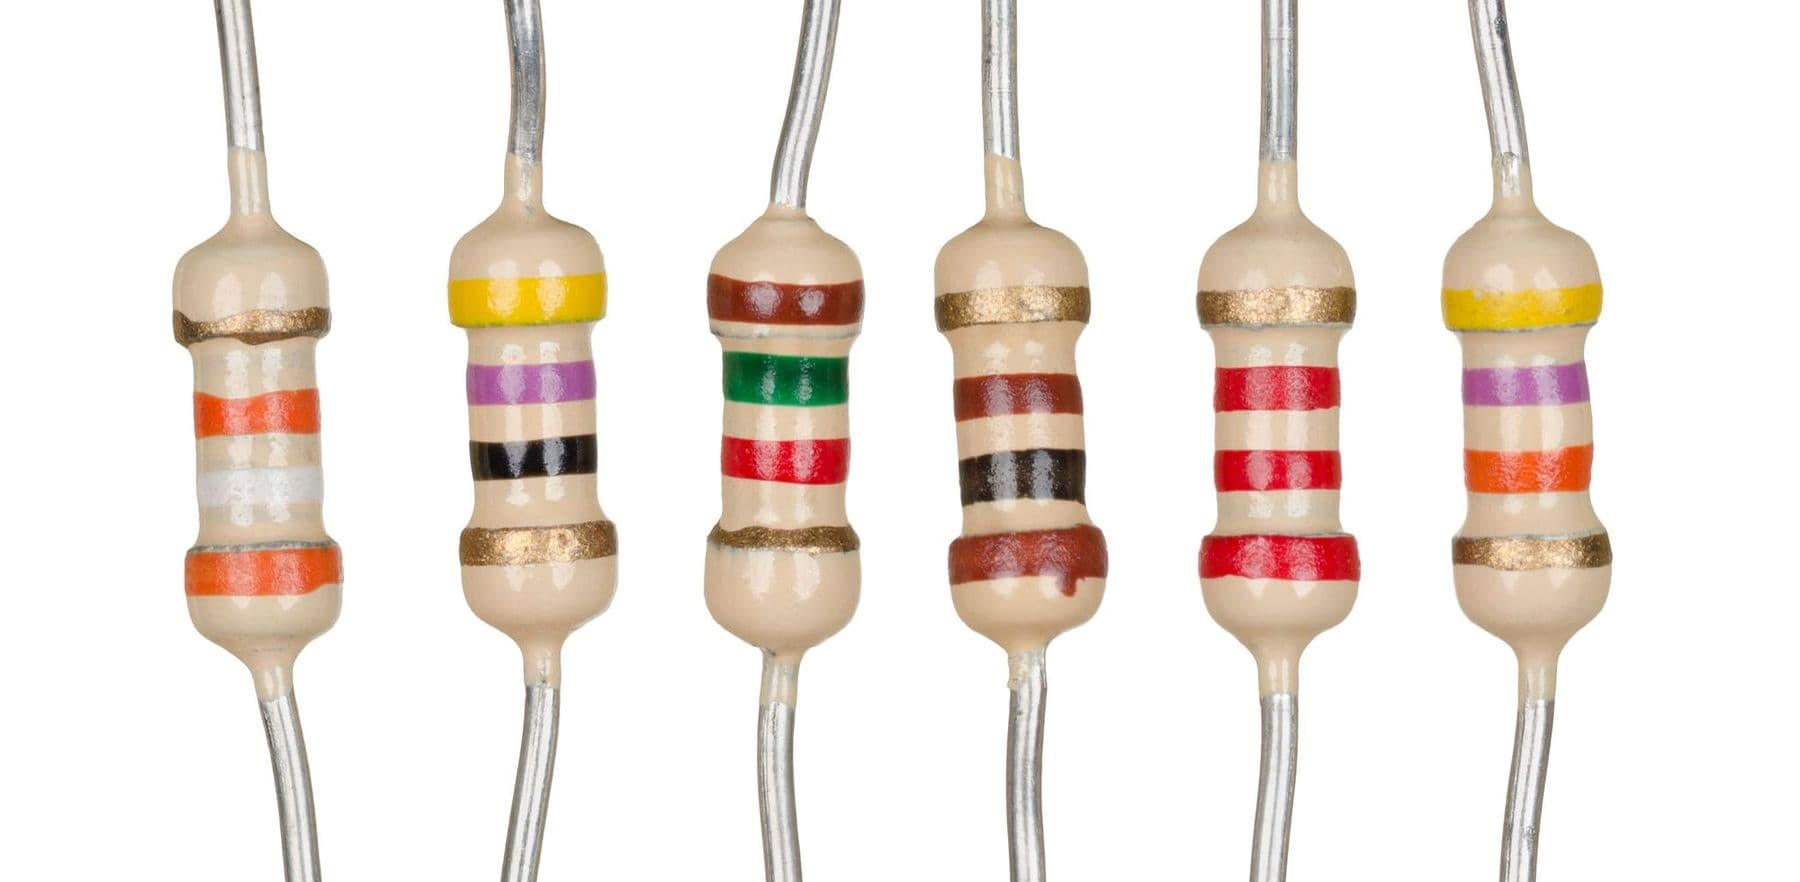
Resistor values are printed as colour bands. On a four-band resistor the first two bands are digits, the third is the multiplier and the fourth the tolerance. Yellow-violet-red is 47 × 100 = 4700 Ω (4.7 kΩ); red-red-brown is 22 × 10 = 220 Ω. If in doubt, check with the multimeter: it is the most reliable way.
Common mistakes and safety
- An LED without a resistor. Either the LED dies or the Arduino pin does. Always use a resistor.
- Forgetting milliamps. In the formula 15 mA is 0.015, not 15, or your answer is a thousand times off.
- LED polarity. Long leg (anode) to plus, short leg (cathode) to minus. A reversed LED simply stays dark.
- Measuring current in parallel. In current mode the meter only ever goes in series.
- The wall socket. Beginners work with batteries and USB only (3.3–9 V). Mains electricity (230 V in Georgia) can kill and is no place for experiments.
Once Ohm's law clicks, build a real circuit. Our guide to your first electronic circuit on a breadboard walks through four simple builds, including a night light with a photoresistor. After that you can start programming an Arduino, and when you want a circuit to last, learn soldering for beginners.
Where kids and teens can learn electronics in Tbilisi
For many children the formulas come alive the moment an LED lights up for the first time. On our Electronics and Smart Devices course, students aged 10–13 start with the basics of electricity in the very first module: current, voltage, resistors, Ohm's law and power sources. They build and simulate each circuit in Tinkercad Circuits first, then on a real Arduino. The course runs for two months, on-site and in Georgian, and every student keeps an electronics mega kit to carry on experimenting at home.
Teens aged 13–17 who already know the basics can join the Electronics and Robotics (Advanced) course: Arduino C++, sensors, a 4WD robot and a robotic arm. You can compare the two courses on our electronics and Arduino courses page. For hands-on science at home, see our simple physics experiments on electricity and magnetism.
Frequently asked questions
What is Ohm's law in simple terms?
Ohm's law links three quantities: voltage, current and resistance. V = I × R means that more voltage pushes more current, and more resistance lets less through. Know two of them and one calculation gives you the third.
What is the difference between voltage and current?
Voltage is the "push" that moves charge around a circuit, measured in volts. Current is how much charge passes each second, measured in amps. A battery always has its voltage, but current only flows once the circuit is closed.
What resistor do I need for an LED on 5V?
Red, yellow and traditional green LEDs usually need 220 Ω on 5 V; blue and white need about 150 Ω. On an Arduino Uno R4, which allows only 8 mA per pin, use 390–470 Ω. The exact value comes from R = (5 − Vf) / I.
Why can't I connect an LED straight to a battery?
The voltage across an LED barely changes, so nothing absorbs the extra voltage and the current rises out of control. The LED overheats and fails. A series resistor takes the extra voltage and holds the current to a safe 10–20 mA.
How do I read resistor colour bands?
On a four-band resistor the first two bands are digits, the third is the multiplier and the fourth (gold or silver) is the tolerance. Red-red-brown is 220 Ω; yellow-violet-red is 4.7 kΩ. A multimeter in resistance mode is faster and more reliable.
Do you need to be good at maths for electronics?
To start, multiplication, division and converting units (mA to A, kΩ to Ω) are enough, which is within reach of a 10–11 year-old. More advanced maths becomes useful later, in analogue circuits and signal processing.
If you would like your child to learn this with real components and a mentor, book a free consultation and we will help you choose the right course for their age and interests.
Sources
- Voltage, Current, Resistance, and Ohm's Law, SparkFun Learn
- Ohm's Law, HyperPhysics (Georgia State University)
- Resistors, SparkFun Learn
- LED Series Resistor Calculator, Last Minute Engineers
- How to Use a Multimeter, SparkFun Learn
- Arduino UNO R3 tech specs, Arduino Store
- Arduino UNO R4 Minima tech specs, Arduino Store