







To build a drone you need a frame, four brushless motors, a motor controller (ESC), a flight controller, propellers, a LiPo battery and a radio with a receiver; for FPV flying, add a camera, a video transmitter and goggles. Assemble in this order: frame, motors, ESC and flight controller, receiver, camera. Then configure it in Betaflight and fly for the first time only after practising in a simulator.
This guide focuses on an FPV quadcopter, because that is where most people learn to build drones: the parts are standard, help is easy to find and every mistake teaches you something. Below you will find a parts table, a tool list, the build steps, Betaflight setup and a checklist for the first flight.
What is an FPV drone, and which one should you build first?
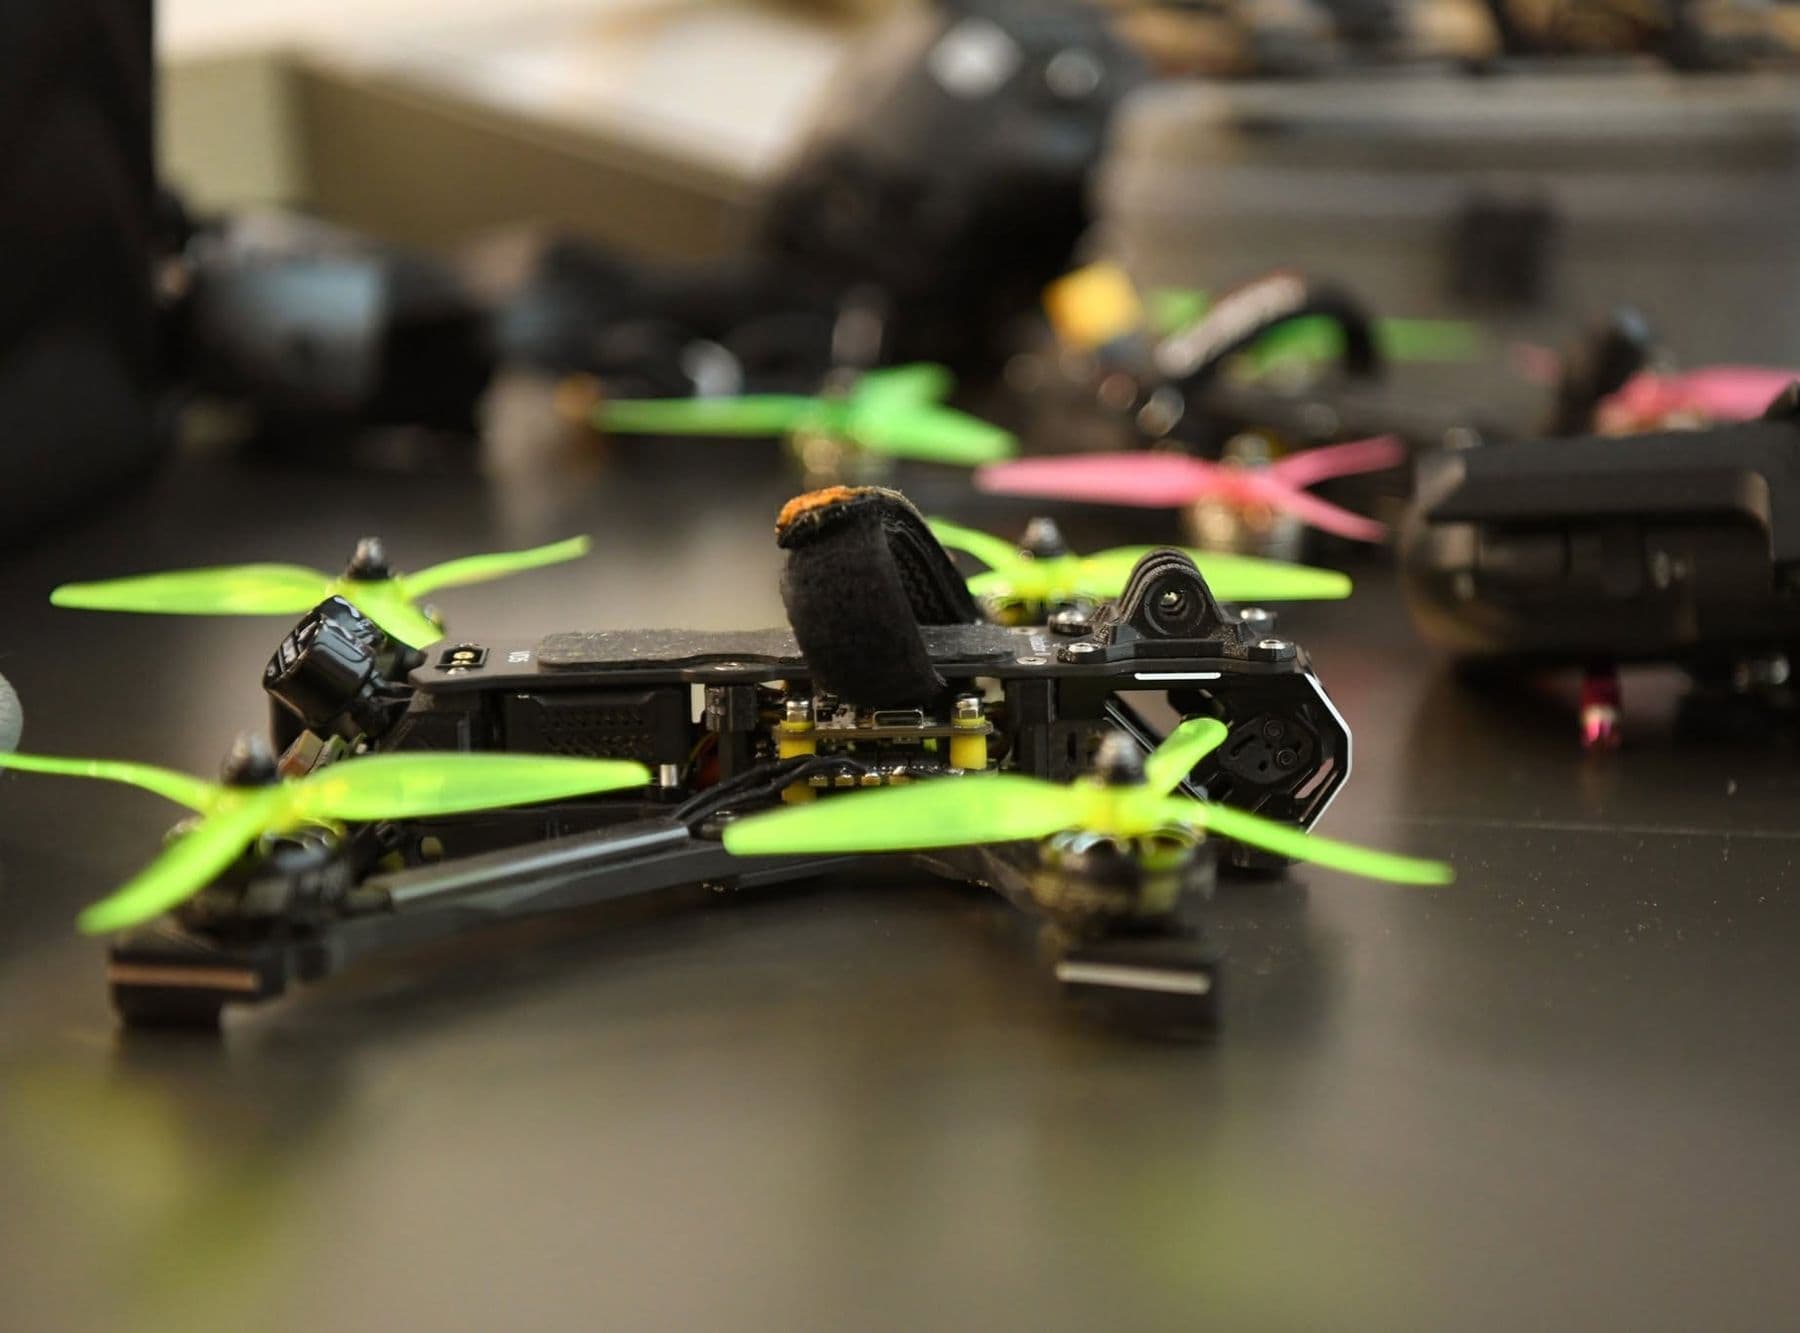
An FPV (First Person View) drone is flown through goggles that show what the drone’s camera sees. Size is set by propeller diameter in inches: 2–3 inch drones fly indoors and in a yard, while the 5 inch drone is the FPV classic for freestyle and racing.
For a first build, watch two things. Weight: in Georgia, drones with a maximum take-off mass of 250 g or more must be registered with the Civil Aviation Agency, and a 5 inch drone with its battery is usually over that limit. Safety: the bigger the propeller, the higher the injury risk. That is why many beginners start with a 3 inch or smaller build.
Drone parts: what each one does
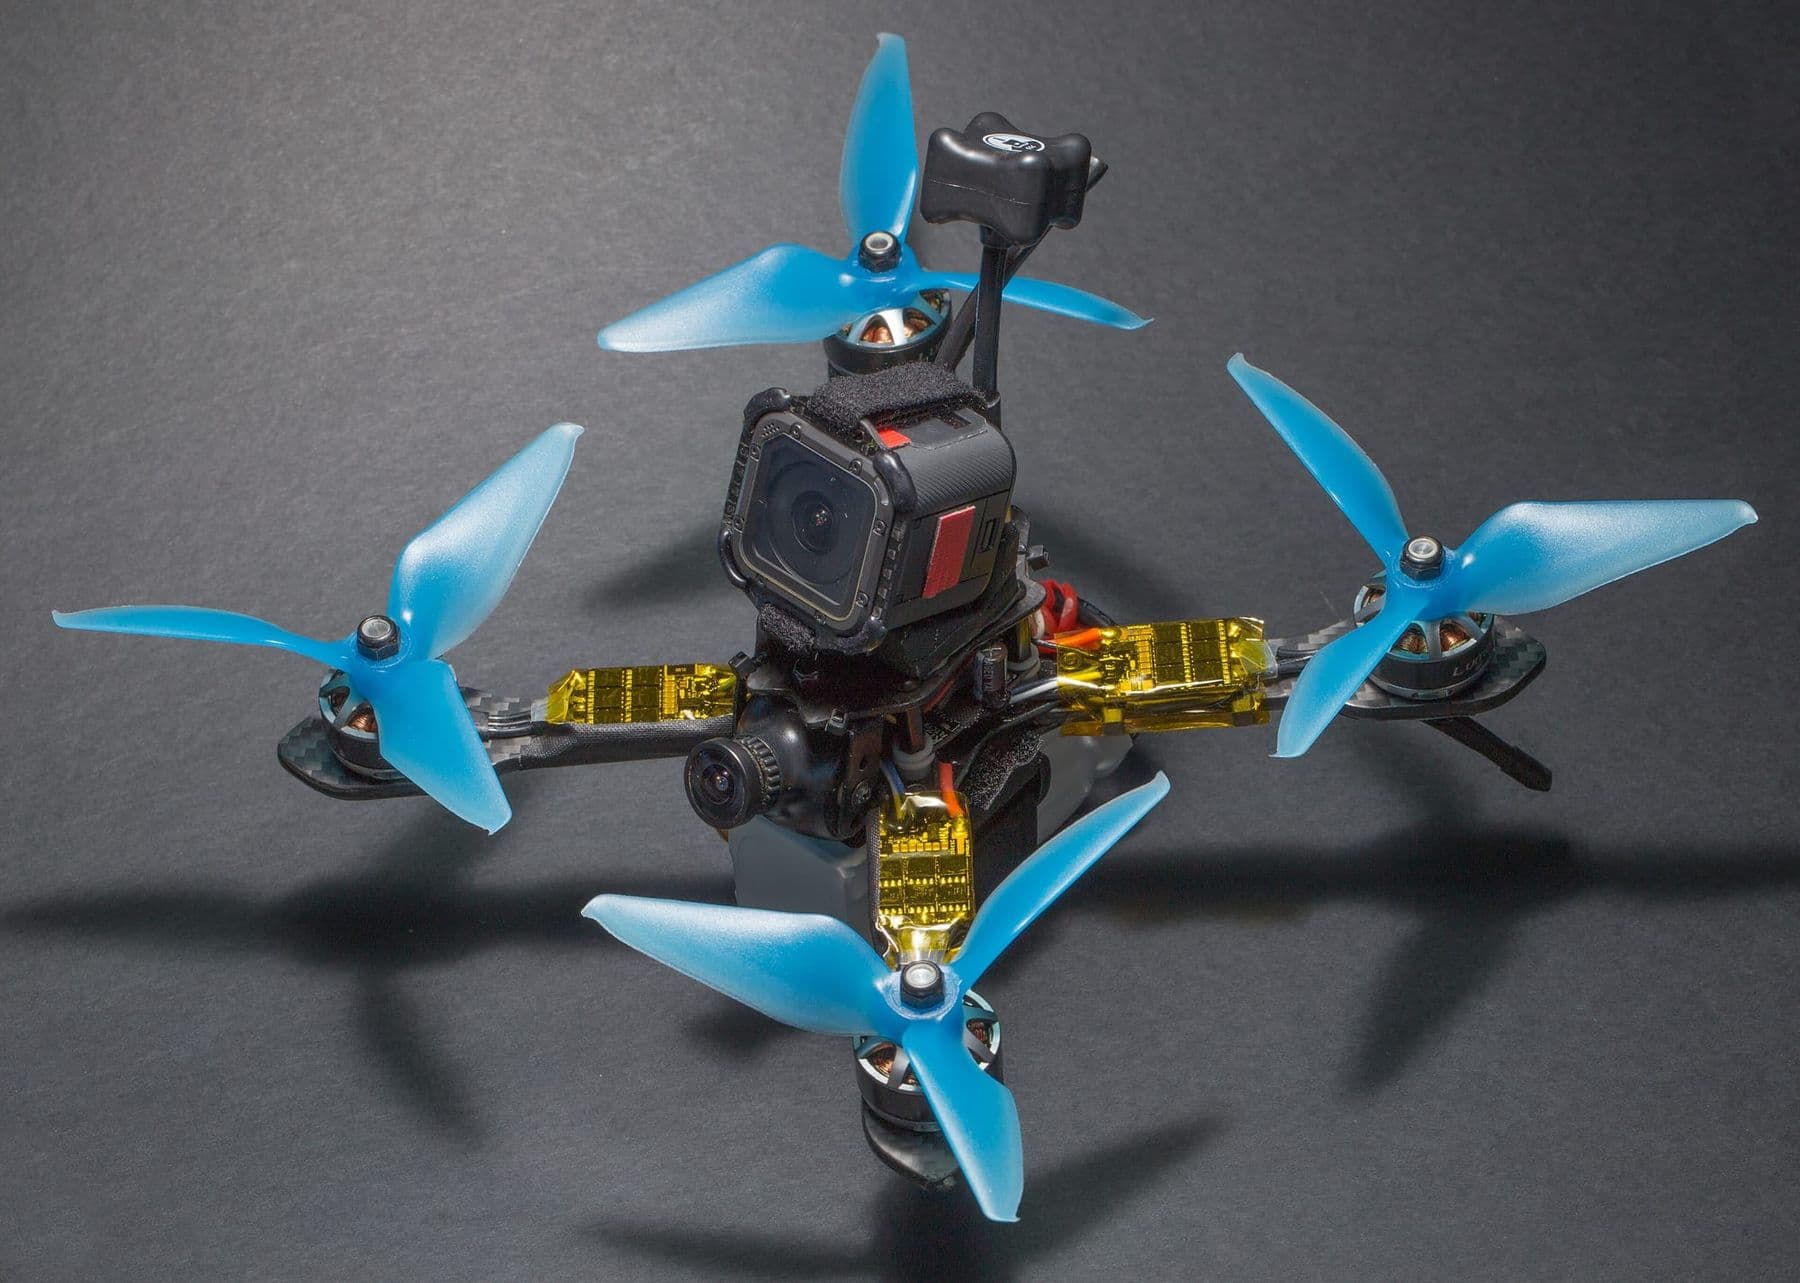
| Part | What it does | What to check |
|---|---|---|
| Frame | Holds everything together | Size must match the props |
| Motors (4) | Spin the propellers | Size (e.g. 2207) and KV |
| ESC | Controls motor speed | Current rating, 4-in-1 board |
| Flight controller | Senses tilt, commands motors | Processor (F4, F7, H7), Betaflight |
| Propellers | Create thrust | Size, pitch, spin direction |
| LiPo battery | Power | Cells (S), capacity (mAh), C rating |
| Radio and receiver | Control link | Must use the same system |
| Camera, VTX, goggles | FPV video | Analogue or digital |
Motors: what 2207 and KV mean
The numbers in a brushless motor’s name are the stator size: 2207 means 22 mm diameter and 7 mm height. KV tells you how many revolutions per minute the motor turns for each volt, with no load. A 1980 KV motor on a 6S battery (about 25 V fully charged) spins very fast, so KV has to match the battery: the higher the voltage, the lower the KV you need for the same prop. On 5 inch 6S builds you will often see 1800–2000 KV motors.
ESC and flight controller
The ESC (Electronic Speed Controller) turns the battery’s direct current into the three-phase signal a brushless motor needs. Beginners usually choose a “stack”: a 4-in-1 ESC and a flight controller mounted on top of each other, which cuts down on wiring. The flight controller runs Betaflight, free open-source firmware (GPL-3.0) that reads the gyro thousands of times a second.
Propellers
A label like 5x4.3x3 means 5 inch diameter, 4.3 inch pitch (how far it would “travel” in one turn) and three blades. Two props spin clockwise and two anticlockwise, and each must sit on the right motor. Mixed-up props are the most common reason a new drone flips over the moment it takes off.
What tools do you need?
Most of the build is soldering, so learn that first: our guide to soldering for beginners will help. A minimum tool kit:
- A temperature-controlled soldering iron and flux-core solder;
- Hex drivers in 1.5, 2.0 and 2.5 mm;
- A multimeter to check for short circuits;
- A smoke stopper: a small device that limits current at first power-up and saves your electronics if something is wrong;
- Heat-shrink tubing, zip ties and double-sided tape;
- A prop nut wrench.
If you want the bigger picture of what motors, sensors and controllers do, see our robot components guide: the principles are the same.
How to build a drone, step by step
- Assemble the frame. Tighten every screw, but leave the top plate off for now.
- Mount the motors. Use all four screws and check that none touches the windings.
- Dry-fit everything. Lay out all the parts before soldering and plan the wire routes.
- Install the ESC. Solder the motor wires, the XT60 battery lead and the capacitor.
- Test. Check the power pads for shorts with a multimeter. First power-up only through a smoke stopper.
- Receiver. Solder it to a free UART on the flight controller.
- Camera and video transmitter. Mount them and attach the antenna: never power a VTX without one.
- Finish. Top plate, battery strap, centre of gravity check. Propellers go on last, after Betaflight setup.
Betaflight setup: the key steps
Connect by USB using the Betaflight App (Configurator). Before changing anything, save a backup in the CLI tab with diff all. Then:
- Setup: the 3D model on screen should move the way you tilt the drone. Calibrate the accelerometer on a level surface.
- Ports: enable Serial RX on the UART your receiver is wired to.
- Receiver: choose the protocol (for example CRSF for ExpressLRS) and check that the stick movements show on the channels.
- Motors: props off! Set the ESC protocol, usually DShot300 or DShot600. Spin each motor slowly and check the order and spin direction.
- Modes: ARM on a switch (the only mode you strictly need) and ANGLE, a self-levelling mode that helps beginners a lot.
- Failsafe: decide what the drone does if the radio link is lost, and test it on the bench without props.
The Betaflight documentation is blunt: if any test fails, do not fly. A misconfigured quad can fly away and hurt people or property.
LiPo batteries: how to handle them safely
Each cell of a LiPo (lithium polymer) battery is 3.7 V nominal and 4.2 V when full. A 4S pack has four cells (14.8 V nominal), a 6S pack six (22.2 V). The key numbers:
| State | Voltage per cell |
|---|---|
| Fully charged | 4.2 V |
| Time to land (under load) | about 3.5 V |
| Minimum before damage | 3.0 V |
| Storage for more than two weeks | 3.80–3.85 V |
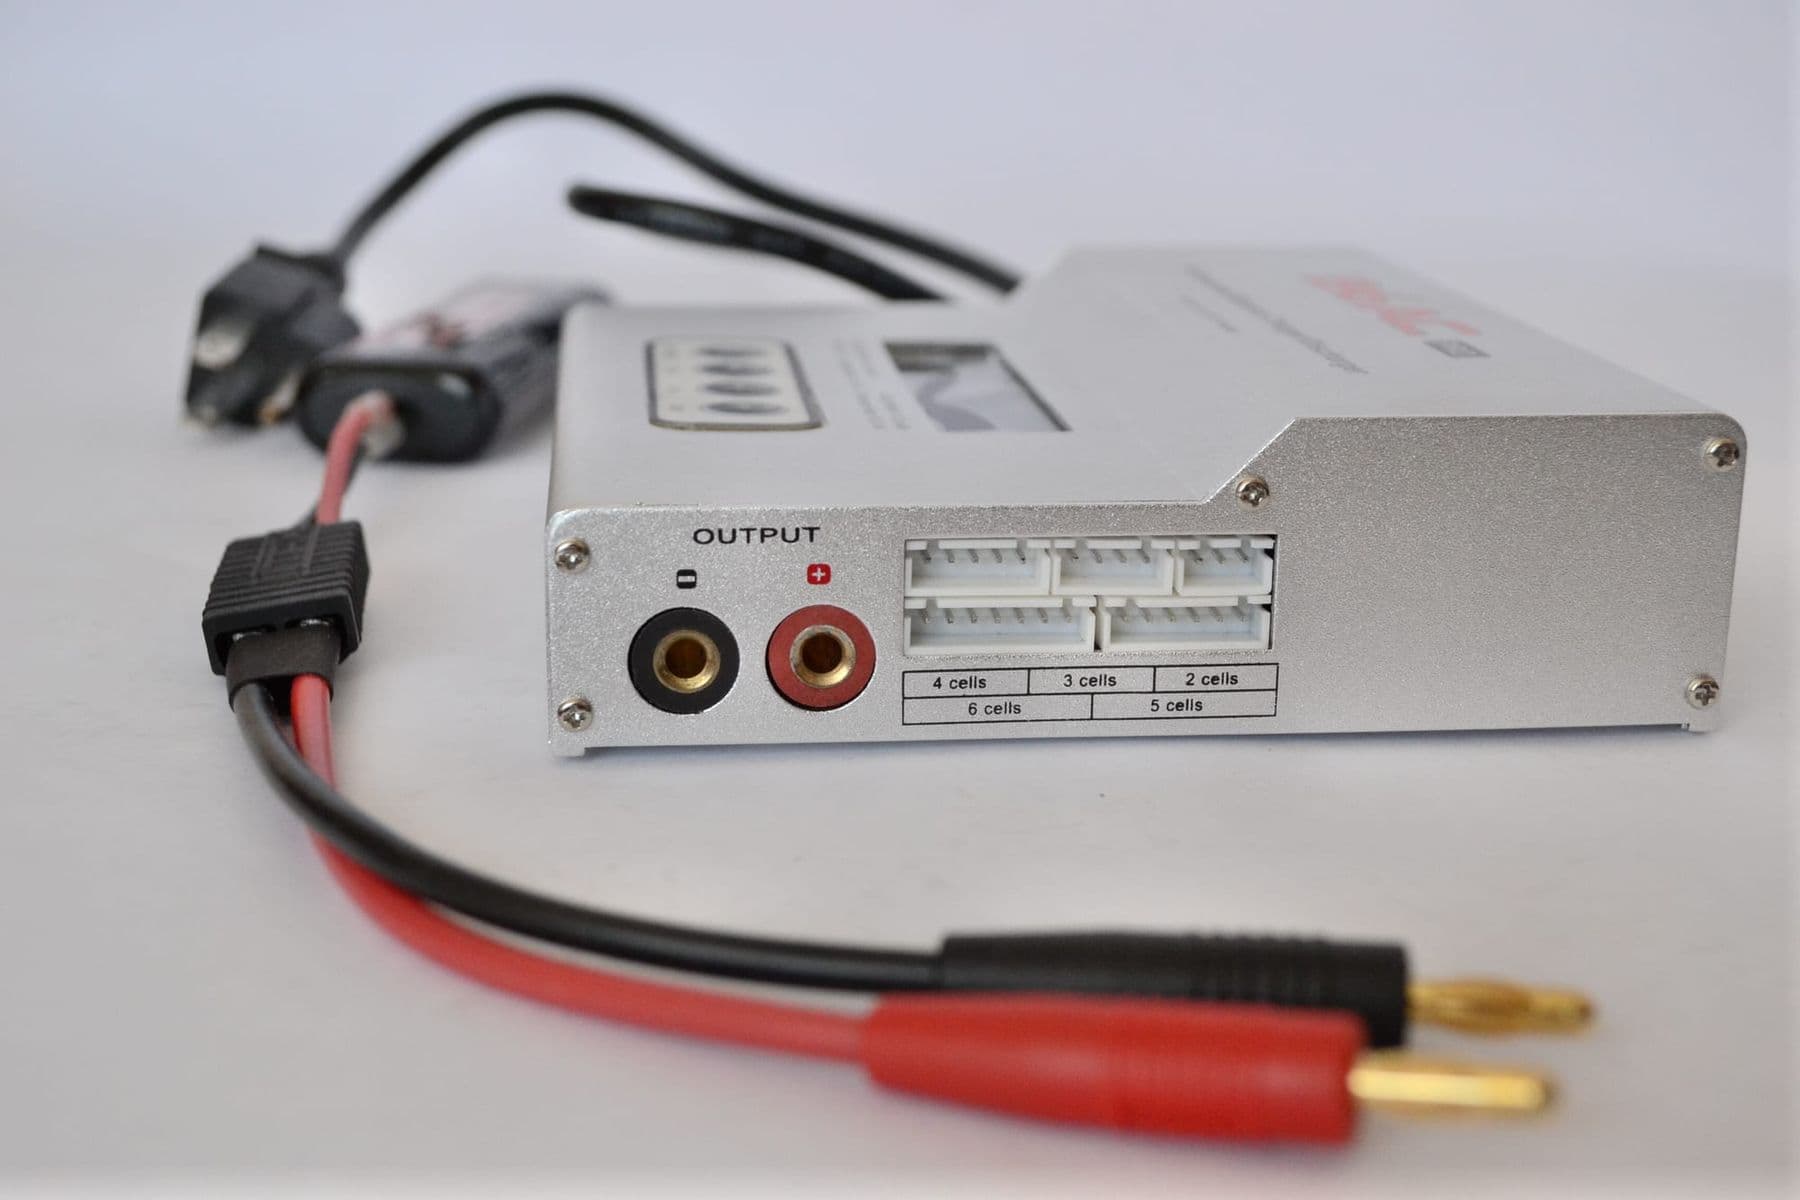
Charging rules:
- Only with a balance charger, balance lead always connected;
- At 1C or less: a 1500 mAh pack at 1.5 A;
- Never unattended, on a non-flammable surface or in a fire-resistant box, away from anything that can burn;
- Retire any swollen, damaged or dented pack and take it to battery recycling;
- If a pack catches fire, step back and do not breathe the smoke; if it is safe, unplug the charger from the wall, then smother a small pack with sand or use an extinguisher. If the fire spreads, leave the room and call 112.
Kids and teens charge LiPo batteries only with an adult present. Let the battery cool after a flight before putting it on the charger. If you will not fly for more than a week, bring the packs to storage voltage (3.8 V per cell): most chargers have a Storage mode.
First flight: a checklist
Before the real thing, spend several hours in a simulator with the same radio. FPV flying is learned fastest there, and crashes cost nothing. On first-flight day:
- An open space with no people, roads or power lines, and not in a restricted zone (check airspace.gov.ge);
- The battery is charged, and each prop sits tight on the correct motor;
- ANGLE mode is on and failsafe has been tested;
- A second person stands by and keeps the drone in sight;
- First flight: hover low for 30 seconds, land, and touch the motors. If one is very hot, something is wrong.
The general rules we wrote for kids and parents also apply to a home-built drone: drones for kids: 8 safety rules.
Common drone-building mistakes
- It flips on take-off. Motor order or direction is wrong, or a prop is on the wrong motor.
- Smoke at first power-up. A short in the soldering. A smoke stopper and a multimeter prevent this.
- The receiver does not see the radio. Wrong UART in the Ports tab, or the receiver is not bound.
- Vibration and a “noisy” flight. A loose screw, a damaged prop or a bent motor shaft.
- Cold solder joints. A dull, grainy joint breaks in flight. A good joint is smooth and wets the whole pad and wire.
Where can you learn to build a drone?
You can build one on your own, but a first drone goes faster and cheaper with a mentor: fewer burnt boards and broken props. If you are looking for structured learning for a teenager, read what teens learn on a drone course.
At Tbilisi Digital School, on the course Drones: Building, Coding and Photogrammetry, students aged 13–17 learn UAV architecture and components, build their own aircraft and an RC plane, program a DJI Tello and work with ArduPilot on a research drone. The components are included, and the aircraft each student builds is theirs to keep.
 Course at TDSDrone Course: Tello, ArduPilot and FPV7 months · 3 phases · 72 h · Starts 21 NovDetails
Frequently asked questions
Is it better to build a drone or buy one?
A ready-made drone is quick and comes with a warranty. A home-built drone teaches you how every part works, and repairs cost far less: you replace one motor or ESC, not the whole aircraft. If the drone is a hobby or a way to learn engineering, building is worth it.
Can you build a drone without soldering?
Partly. Some kits use plug-in connectors, and “BNF” (bind-and-fly) drones only need to be paired with your radio. Most FPV builds still need soldering, so the skill will come in handy sooner or later.
What is Betaflight, and is it free?
Betaflight is free, open-source firmware that runs on the flight controller and flies multicopters and fixed-wing craft. You configure it with the Betaflight App: receiver, modes, motors and failsafe.
Does a home-built drone need to be registered in Georgia?
According to the Georgian Civil Aviation Agency, any drone with a maximum take-off mass of 250 g or more must be registered, home-built ones included. Registration is free on uas.gov.ge. The battery counts towards the weight.
How long does it take to build a drone?
A first build usually takes several evenings: soldering, testing and Betaflight setup. Do not rush. The most expensive mistakes (a burnt ESC, a short circuit) happen when you hurry.
Next step
Start with a simulator and one small build, even if your goal is a big 5 inch drone. If your child is 13–17 and you want them to learn building, coding and drone safety with a mentor in Tbilisi, book a free consultation.
Sources
- How to Build an FPV Drone, Oscar Liang
- LiPo Battery Guide, Oscar Liang
- Motor KV, Oscar Liang
- Betaflight Setup Guide, Betaflight
- Betaflight firmware, GitHub
- Unmanned Aircraft Systems portal, Georgian Civil Aviation Agency