













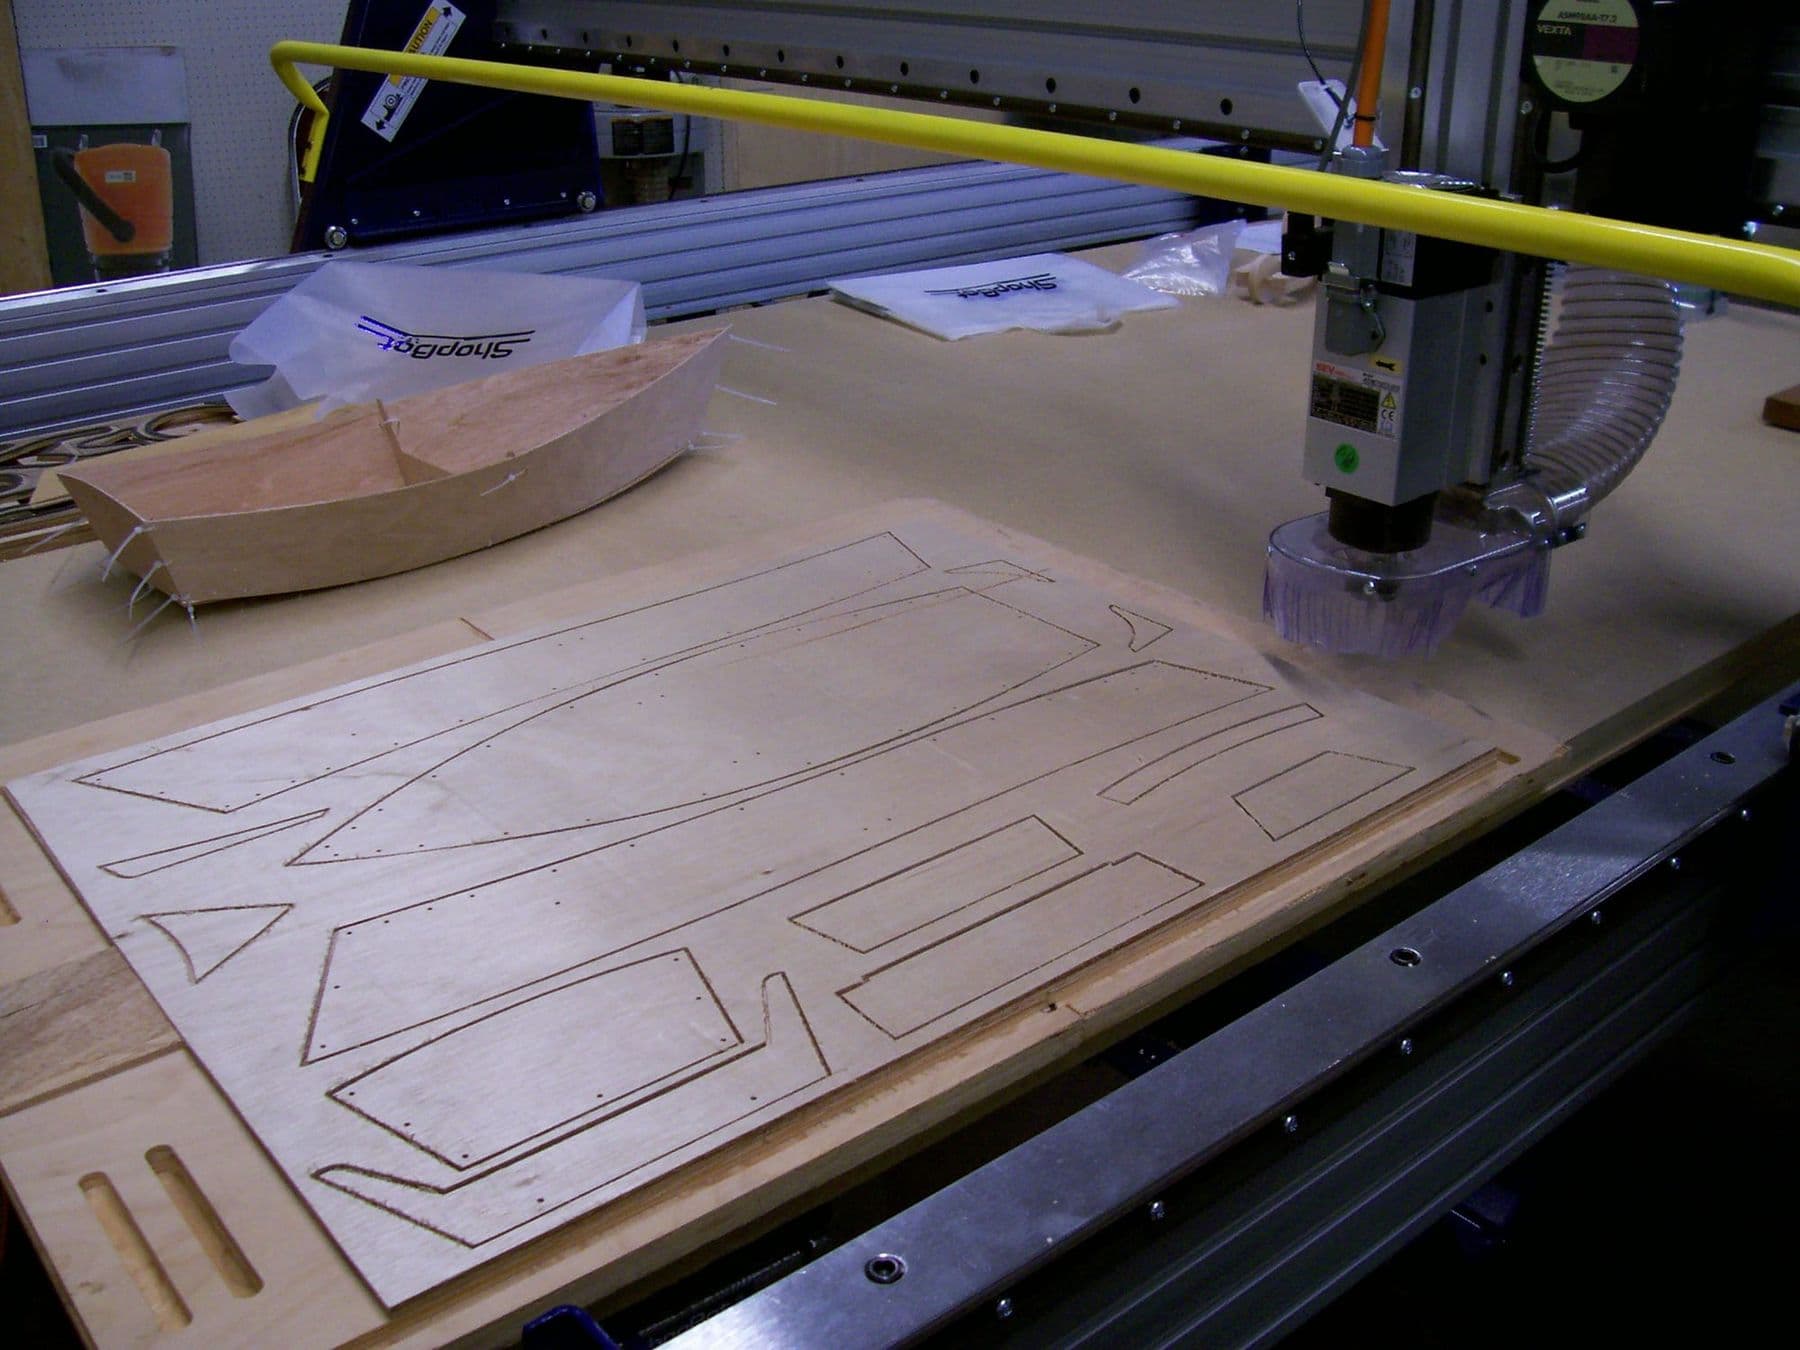
The best CNC projects for beginners are a V-carved wooden sign, coasters, a phone stand, a puzzle and a cutting board: simple shapes, two or three bits and inexpensive material. After that, move on to flat-pack plywood furniture, an edge-lit acrylic sign and 3D relief. Below are 12 projects with materials, bits, difficulty and practical tips.
Each project teaches a new skill: V-carving, pockets, joints, 3D machining. If these terms are new, start with what a CNC machine is and how it works.
What you need to start: materials and bits
A small kit covers all 12 projects:
- Material: 6, 12 and 18 mm plywood, MDF, dense hardwood boards, cast acrylic.
- Flat end mills: 3 mm and 6 mm, ideally down-cut or compression for plywood.
- V-bit: 90°, for lettering and V-carving.
- Ball nose: 3 mm, for 3D relief.
- Single-flute O-flute: for acrylic.
- Extras: clamps, double-sided tape, sandpaper, oil or varnish.
12 CNC projects: quick table
Machine times are approximate and depend on size, material and machine.
| Project | Material | Bits | Difficulty | Machine time |
|---|---|---|---|---|
| 1. Name sign | MDF, hardwood board | V 90°, flat 6 mm | Easy | 20–40 min |
| 2. Coasters | 12 mm plywood, wood | V 90°, flat 6 mm | Easy | 15–30 min |
| 3. Phone stand | 12–18 mm plywood | Flat 6 mm | Easy | 10–20 min |
| 4. Wall clock | Plywood, MDF | V 90°, flat 6 mm | Easy | 30–60 min |
| 5. Desk organiser | 18 mm plywood | Flat 6 mm | Easy | 30–60 min |
| 6. Puzzle | 6 mm plywood | Flat 3 mm | Medium | 20–40 min |
| 7. Cutting board | Hardwood | Flat 6 mm, ball nose | Medium | 30–60 min |
| 8. Wooden tray | Hardwood board | Flat 6 mm, ball nose | Medium | 1–2 h |
| 9. Carved box | Solid wood block | Flat 6 mm | Medium | 1–2 h |
| 10. Flat-pack stool | 18 mm plywood | Compression 6 mm | Hard | 1–2 h |
| 11. Acrylic LED sign | 6–8 mm acrylic | O-flute, V 90° | Medium | 30–60 min |
| 12. Relief map | MDF, wood | Flat 6 mm, ball nose 3 mm | Hard | 3–6 h |
Easy CNC wood and plywood projects
1. A name sign or house number
The classic first project. Give the text a V-carve toolpath and the software calculates the depth from each letter’s width; cut the outline with a flat bit. Seal or paint the surface before cutting and the carved letters stand out clearly. For outdoor signs, use moisture-resistant material and varnish.
2. Coasters
Four to six circles or squares on one sheet: perfect practice for nesting parts. Carve a pattern or initials with the V-bit on top and a shallow pocket underneath so the coaster does not slide.
3. Phone stand
Two flat parts that slot together. This project teaches the key rule: the slot width must match the actual sheet thickness. Plywood is often thinner than its nominal size, so measure it with calipers before cutting.
4. Wall clock
A round panel, V-carved numerals and a centre hole for the clock movement. Size the hole for the movement you actually buy.
5. Desk organiser
Pockets of different depths in 18 mm plywood for pens, a phone and keys. Good practice for setting pocket depth and the number of passes.
Medium projects: puzzle, cutting board, tray
6. Puzzle
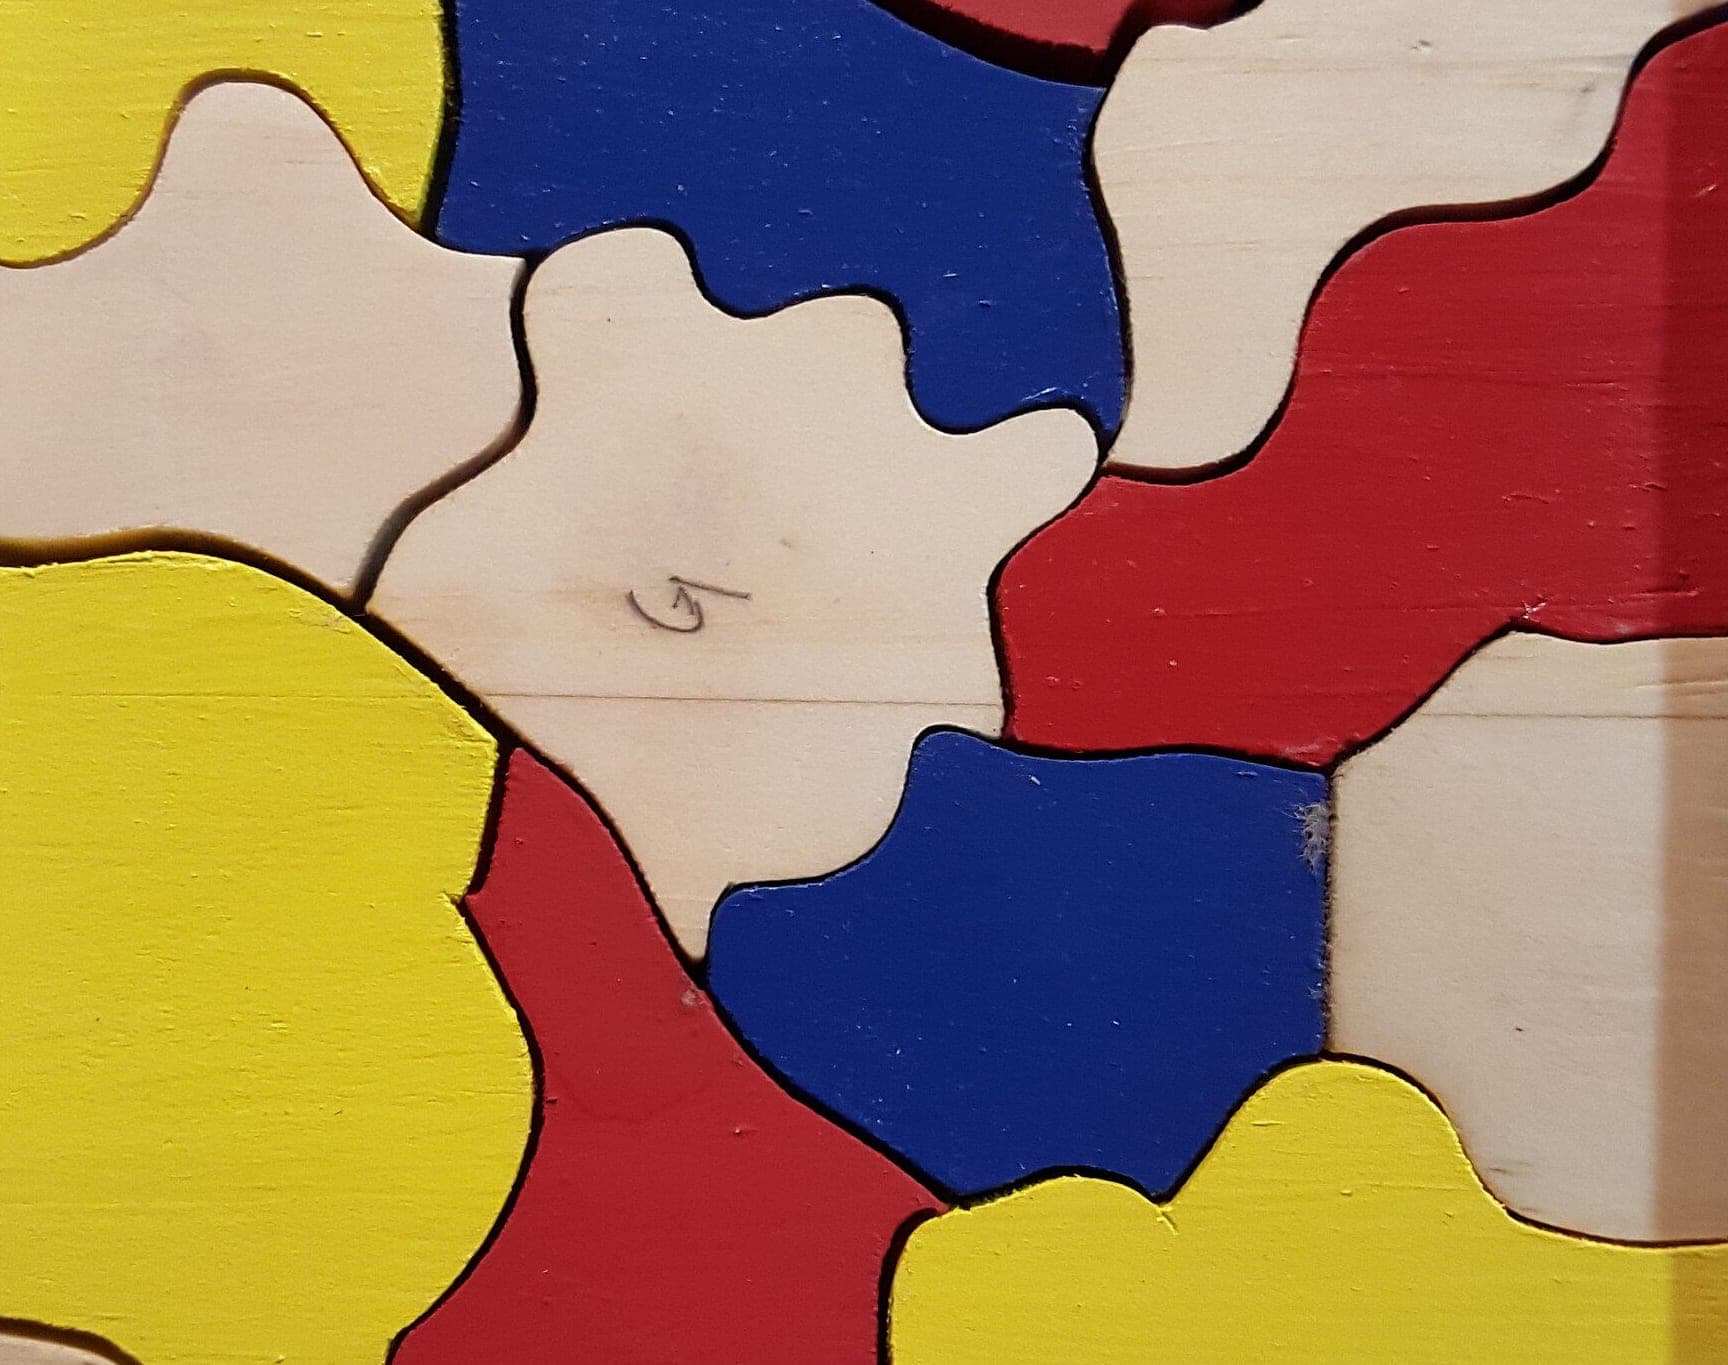
Pieces cut from 6 mm plywood with a 3 mm bit. Here you meet a physical limit of CNC: a spinning bit cannot cut a sharp inside corner, so every inside corner keeps the radius of the bit. Draw puzzle pieces with rounded shapes.
7. Cutting board
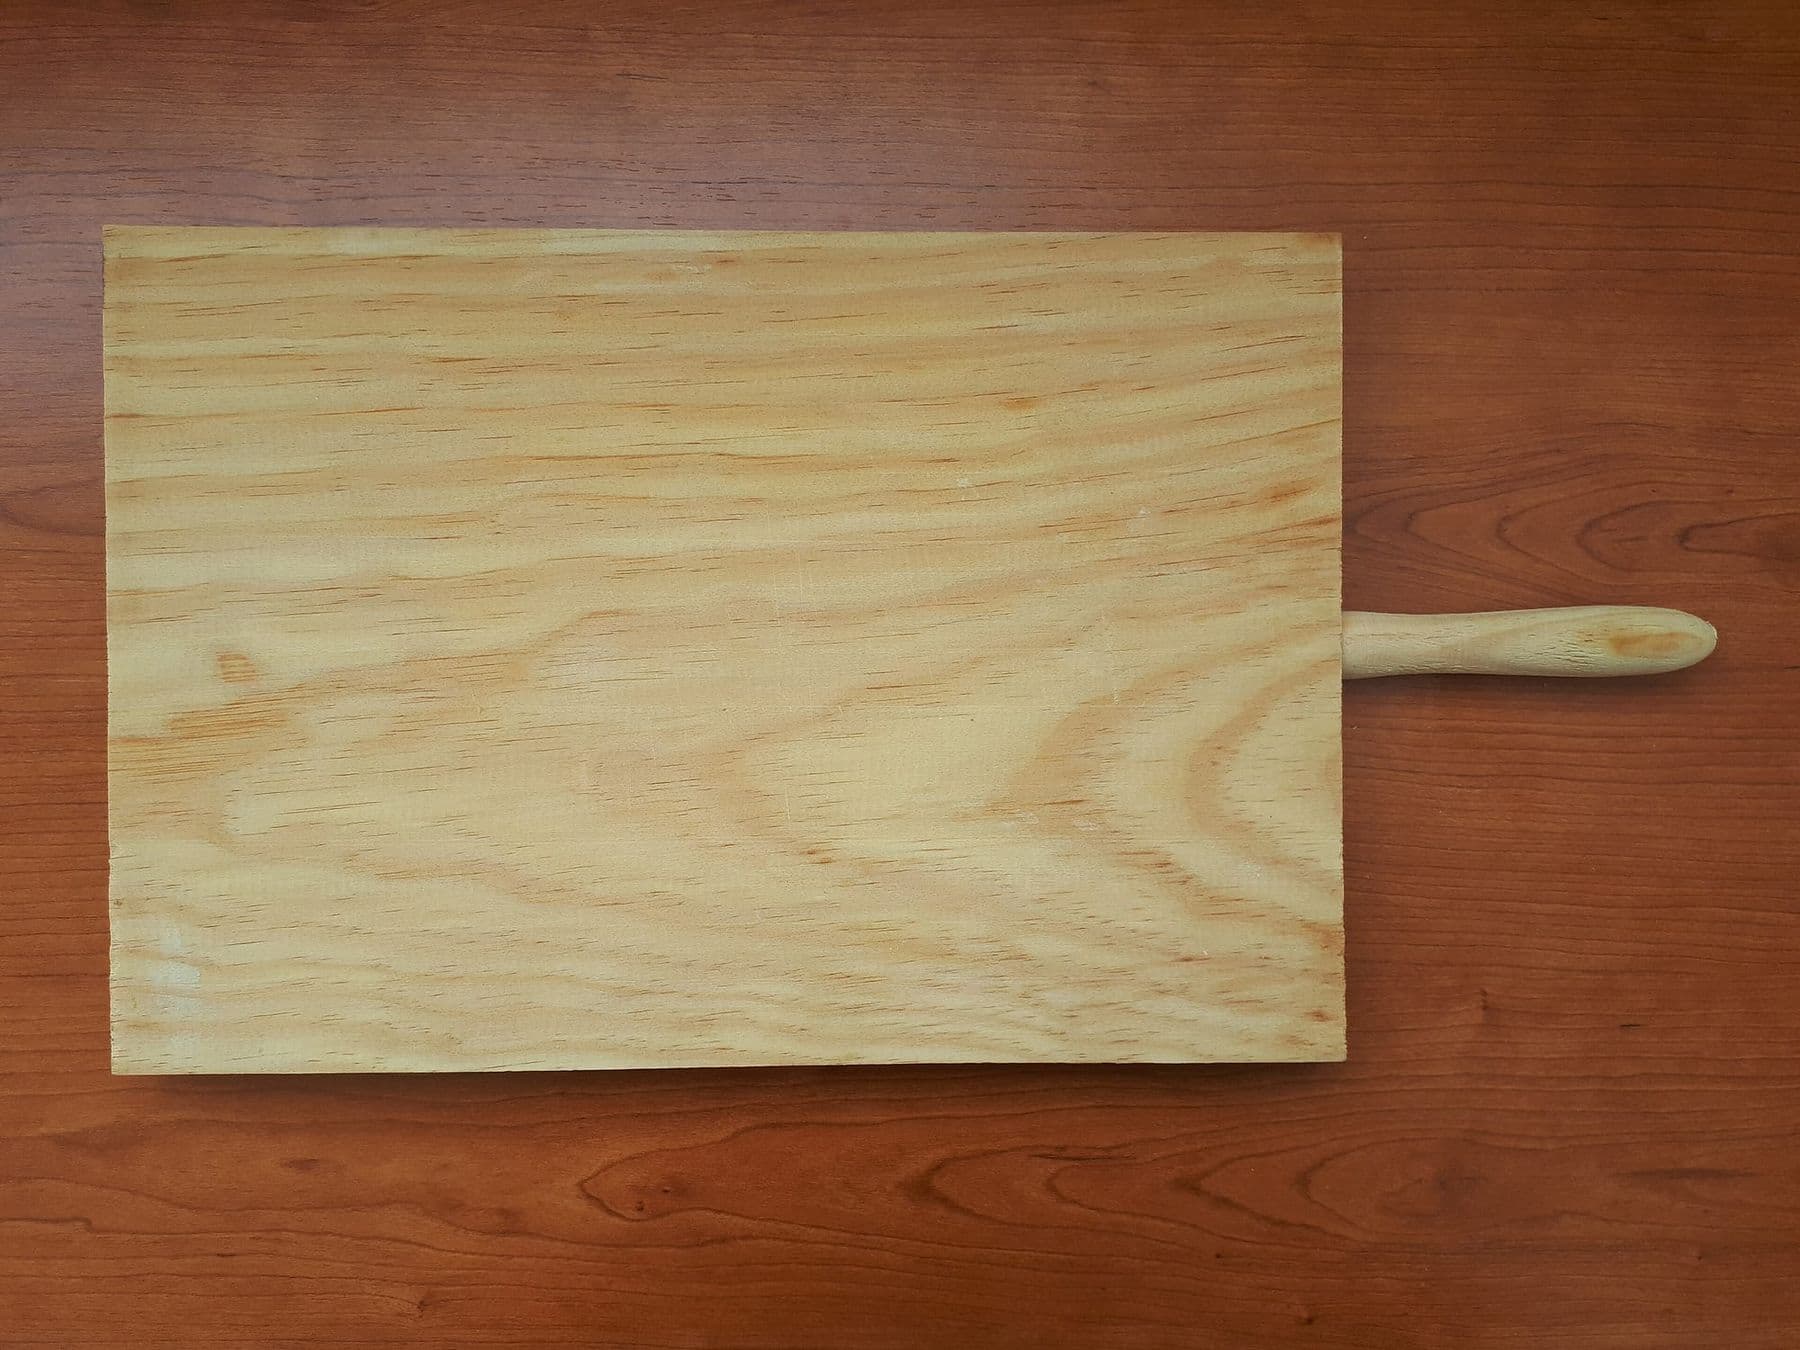
Use dense hardwood such as beech or maple. Cut a juice groove along the edge with a ball-nose bit and a handle pocket underneath. Food contact rule: the University of Kentucky’s Robinson Center recommends food-safe mineral oil and warns against vegetable or nut oils, which go rancid. Re-oil monthly, or every two weeks with heavy use. Wash by hand and never soak the board.
8. Wooden tray
A large pocket with a flat bit, then a ball-nose bit to smooth the inside edges. Large pockets need the right stepover between passes, or ridges stay on the floor. Finish with sandpaper.
9. Carved box
A box with a lid carved from a single block of wood. You learn two-sided machining: flipping the part and restoring zero precisely so both sides line up.
CNC furniture: a flat-pack stool
10. Plywood flat-pack stool
A flat-pack stool from 18 mm plywood, held together by slots, with no screws or glue. This is real CNC furniture and teaches two important techniques:
- Dogbones. The bit rounds inside corners, so small circular cut-outs are added in slot corners to let the mating part seat fully.
- Tolerance. The slot must be slightly wider than the measured sheet thickness. Cut a small test joint first, then the whole stool.
A compression bit cuts plywood cleanly on both faces. For file preparation mistakes such as open contours and the wrong bit diameter, read preparing files for CNC: 7 common mistakes.
Acrylic and 3D relief: the next level
11. Edge-lit acrylic LED sign
A design V-carved into the back of clear acrylic glows when lit from below with an LED strip. Acrylic has its own rules:
- Choose cast acrylic: it machines more cleanly and melts less than extruded.
- Use a single-flute O-flute bit with plenty of room for chips.
- A slow feed heats the bit and melts the plastic; if the edge is poor, reduce depth per pass rather than slowing the feed.
- Leave the protective film on and clamp the sheet firmly: acrylic cracks under vibration.
12. Relief map
A 3D relief made from open elevation data (DEM), for example your favourite mountain or valley. Rough it with a 6 mm flat bit, then finish with a 3 mm ball nose. It is the longest project and shows clearly how stepover affects surface smoothness and time.
Try every new project on MDF scrap before expensive wood. Write down every successful setting in a notebook: material, bit, rpm, feed, depth. Within a month you will have your own settings chart, more accurate than any table online.
How to finish a CNC-cut part
A part straight off the machine is not finished yet. Half the work is finishing:
- Cut the tabs with a sharp knife or a small saw and level the spot.
- Sand frayed fibres off plywood edges, coarse grit first, then fine.
- MDF edges soak up paint like a sponge: prime them before painting.
- Oil or wax deepens the natural colour of wood; varnish protects it from moisture.
A simple sign that is well finished always looks better than a complex relief left raw.
CNC or laser for these projects?
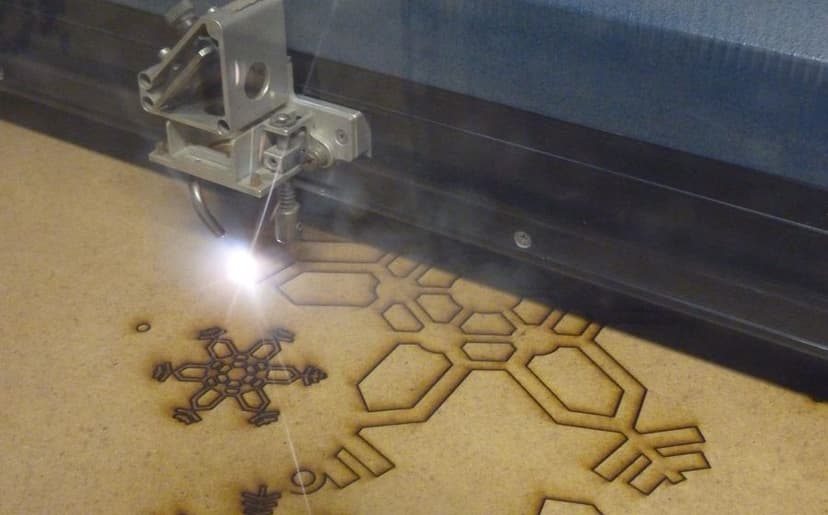
Some of these projects can also be done on a laser: a thin plywood puzzle, coasters, an engraved sign. CNC’s advantage is depth: pockets, V-carving, 3D relief and 18 mm furniture plywood that a desktop laser usually cannot cut. A laser is better for fine detail and surface engraving. See the full comparison in CNC, laser cutter or 3D printer, and laser project ideas in laser cutting ideas.
Safety on every project: safety glasses and hearing protection, dust extraction, a firmly clamped sheet and constant attention while the machine runs. MDF and hardwood dust is harmful, so clean up with a vacuum, not a broom.
Frequently asked questions
What should I make first on a CNC router?
Start with a name sign or coasters in MDF or plywood. Both need only two bits (a V-bit and a flat end mill) and teach the basic operations: V-carving, profiling and setting zero.
What is the best wood for CNC cutting?
For beginners, MDF and good-quality plywood: uniform and inexpensive. For signs and cutting boards, dense hardwood such as beech or maple gives cleaner edges.
Can you make furniture with a CNC router?
Yes, the CNC router is a core tool in furniture production. A flat-pack plywood stool, shelves and table legs are a good start. Design slots to the real sheet thickness and add dogbones to inside corners.
How do I finish a CNC cutting board?
Use food-safe mineral oil. Vegetable and nut oils are not suitable because they go rancid. Re-oil monthly, wash by hand and dry well.
Can a CNC router cut acrylic?
Yes. Choose cast acrylic, a single-flute O-flute bit and a feed fast enough that the plastic does not melt. Leave the protective film on while cutting.
Next step
If you want to make these projects but do not yet have a machine or experience, see what learning CNC involves in CNC course: 3D design, CAM and machine operation. Questions? Contact us for a free consultation.
Sources
- Cutting Board Care, University of Kentucky Robinson Center
- How to Cut Acrylic with a CNC Router, ToolsToday
- How To Choose Solid Carbide Spiral Router Bits, Infinity Tools
- VCarve Pro, Vectric
- How Chip Load Factors into CNC Router Speeds and Feeds, Precision Board
- CNC Router Safety, Purdue University
- Woodworking: hazardous substances, HSE